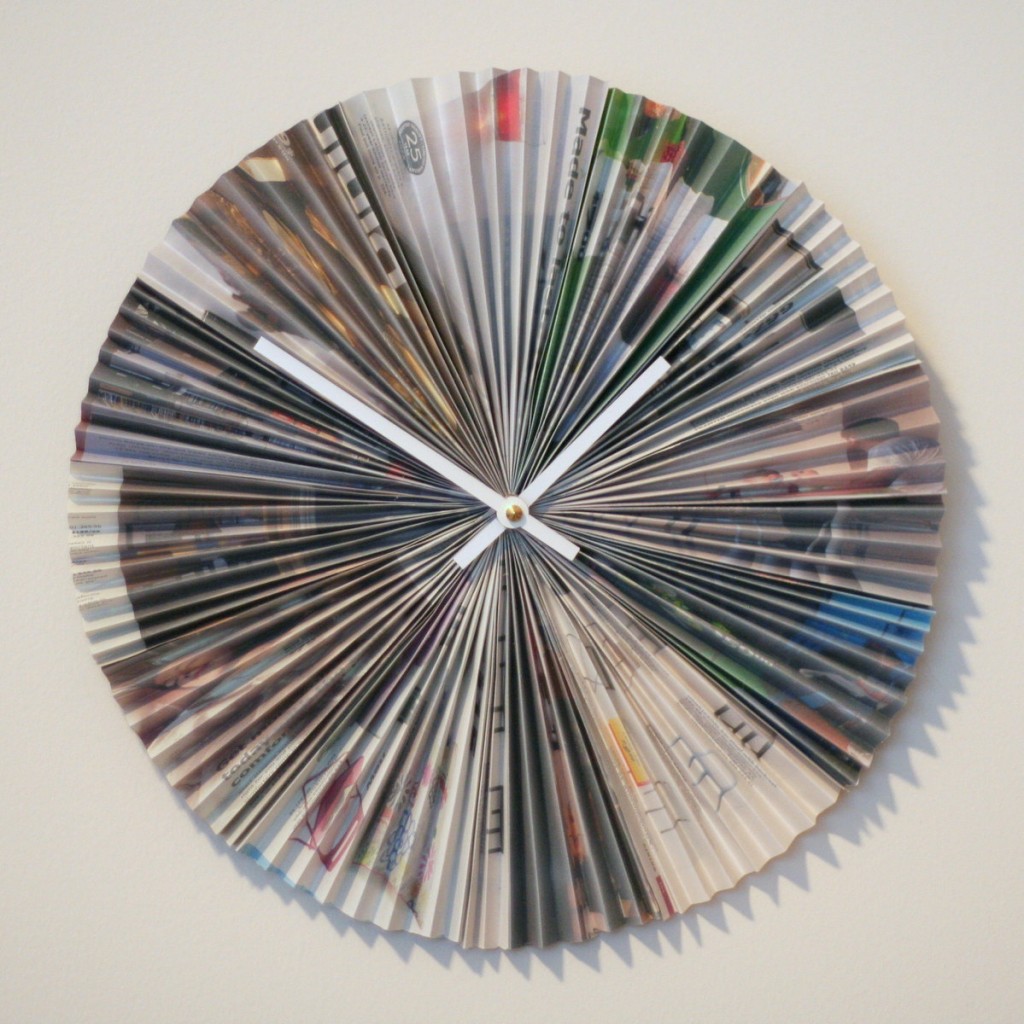
Accordion-style recycled magazine clock

I love reusing junk from around my house to make interesting clocks. I’ve been making a lot lately with catalogs and magazines that we get in the mail – most un-asked-for. My latest clock I made by folding IKEA catalog pages accordion-style, then gluing them to a wooden disk. I spray painted the whole thing with a few layers of white paint to unify it. I was contemplating painting it all-white, to create dimension just from the accordion pleats, but eventually I decided I liked it as-is. This one is for sale in my etsy shop.Accordion-style recycled magazine clock
Posted in clocks, finished | 33 Comments

Beach cover-up: finished!

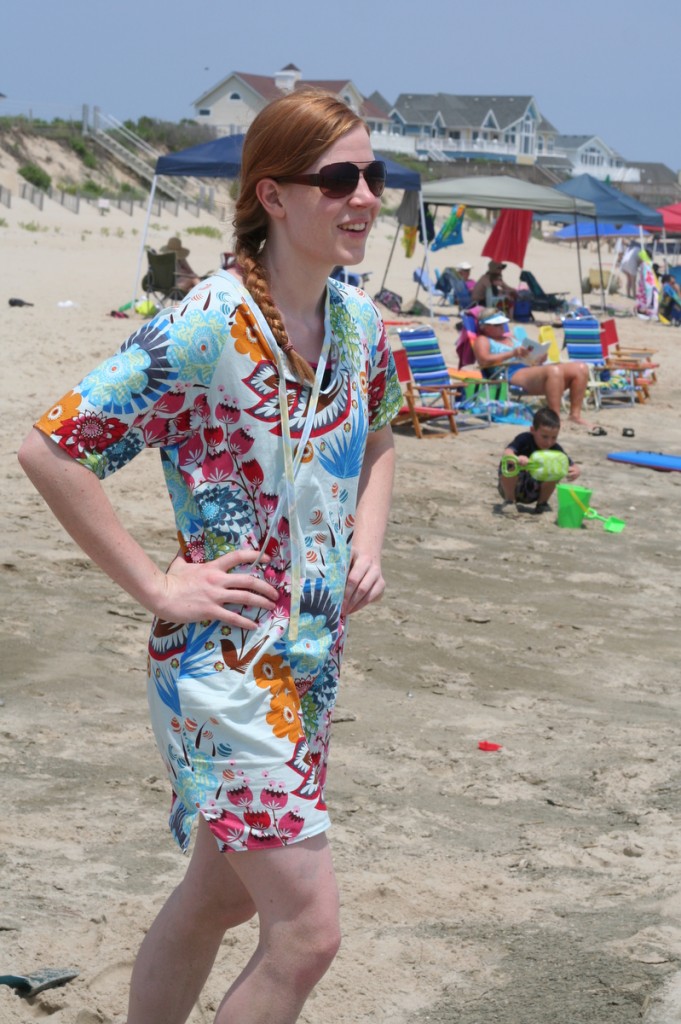
Funny how having a deadline forces me to make decisions and actually finish projects. I was determined to actually wear my beach cover-up when I was at the beach, which meant I needed to finish the neckline. I decided on a slightly scooped neckline with a V. I had lots of leftover bias tape from my quilt, so I added that blue-green plaid as edging to the V, and the neckline, leaving the ends long.

Beach cover-up - finished

Overall I’m pretty pleased with how it turned out. The neckline is still a bit weird, but it’s just for wearing at the beach so I’m not too bothered. It was great for throwing on to walk to and from the beach, and light enough to keep on when I was trying to avoid getting sunburned!

Posted in clothing, finished, Sewing | Leave a comment

Cross-Stitch Kit

Moose in Trees cross-stitch kit

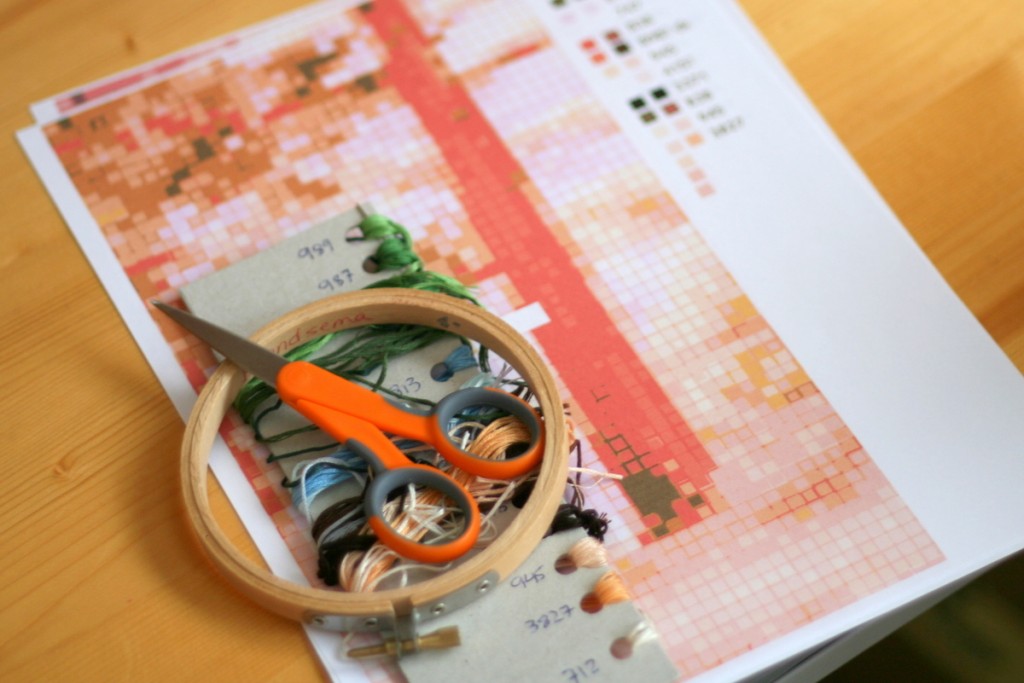
I assembled a little kit for myself for my moose in trees cross-stitch pattern. I figured the more portable I make this project, the more likely it is I’ll actually work on it. Sadly, our printer cartridges are dying, as evidenced by the now-pink trees. Good thing I know what color the tree and branches are supposed to be.

Posted in in progress, stitchery | 1 Comment

From photo to cross-stitch pattern

As I mentioned, we’re heading to the beach soon, and a long car ride + a lot of down time means I need a good portable project to work on when I don’t feel like reading. I’ve been wanting to start a new cross-stitch project for some time but hadn’t been able to decide what to do. I had the idea to turn one of my photos into a cross-stitch design, and I thought that would be a sufficiently involved pattern to keep me busy for a while.

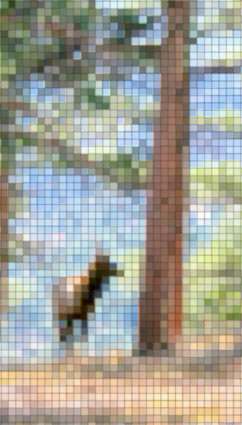
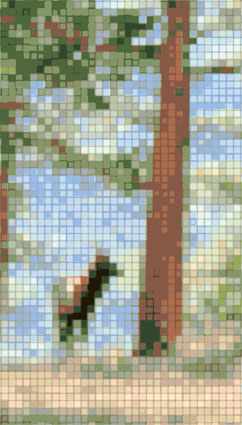
I started with a photo of a moose that I took when we were in Colorado last fall. First, I tried using a Photoshop filter to make it into tiles.

It took me some experimenting to find the right settings to make the squares – and therefore the project – a manageable size. This one measures about 30×60 stitches. So this was all well and good, but there is so much color variation in that pattern that I would have to buy a huge array of embroidery floss. I wanted to stick primarily to the colors I already had, for simplicity’s sake and to try to avoid a trip to the store. I couldn’t think of a good way to make this happen, though. I tried to block off areas of the pattern and color them in with fewer colors, but that was taking forever and didn’t look very good.

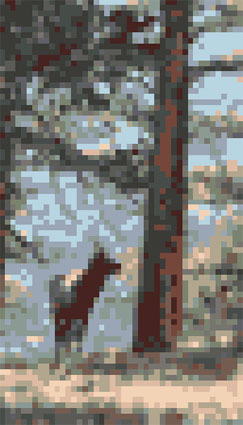
After some searching, I found a site that turns photos into cross stitch patterns. Hooray! The site let you choose the final stitch count and how many colors you want, among other things. Unfortunately, this gave me a set of very dull, grayish colors, as you can see below left. Using Photoshop, I tried to pick out blocks of colors and re-color them to brighter hues… but also got frustrated with that. Finally I realized that when you export images from Photoshop, you can choose how many colors should be in the exported image, and can even specify which colors get locked in, so I could pick out some of the bright greens and blues to make sure they stayed in the simplified image.

Since I chose to go down to only around 20 colors, some parts are a bit blotchy (especially the moose himself), but I figure it won’t be too hard to swap out the colors where needed. I’m much happier with this result – the colors are vibrant and closer to what I have on hand.

Next up is to making a travelling kit, with the colors I’ve picked out as closest to my pattern, cloth and some needles. Oh, and I need to print my pattern. Which might be a bit tricky seeing as our printer is out of blue ink…

Posted in in progress, patterns, stitchery | 2 Comments

Beach cover-up neckline dilemma

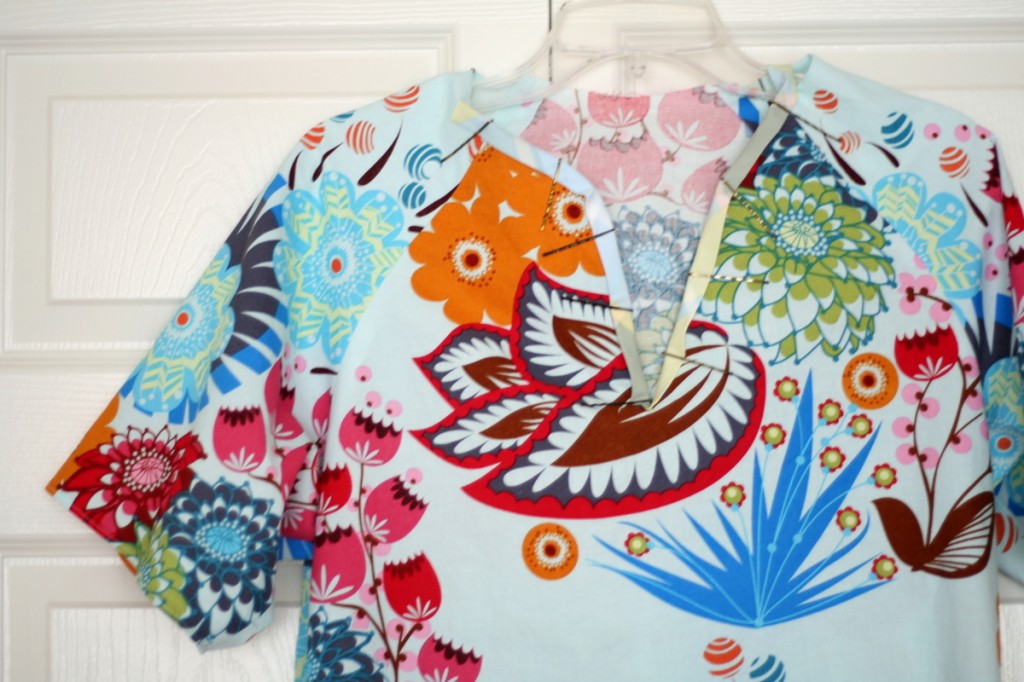
My extended family is going to the beach in a few weeks, and I decided to make myself a new beach cover-up to replace the usual t-shirt and short combo that I wear to and from the beach. The Built by Wendy Coats and Jackets book that I have has a pattern suggestion for a cover-up – basically a simple dress with raglan sleeves (baseball tee style) and a notched neckline. It also calls for a hood and pockets but I didn’t feel like adding them, and didn’t have enough fabric (from Loulouthi by Anna Maria Horner) anyway. Actually, the pattern also called for a zipper up the front of the cover-up, but since I decided to make it out of a light cotton, I thought a zipper would make it pull and hang funnily. So my current dilemma: the neckline.

Beach cover-up neckline dilemma

The pattern suggestion calls for just a straight vertical slit, edged with bias tape. I really disliked that however – because the edges just stood up straight and looked very awkward. So now I’m trying to figure out what to do with the neck – straight V (sort of the right side above)? Or a modified notch (left side above)? Deeper scoop neck with small notch? Something else entirely?

Posted in clothing, in progress | 2 Comments

Summer Top #2 (meh)

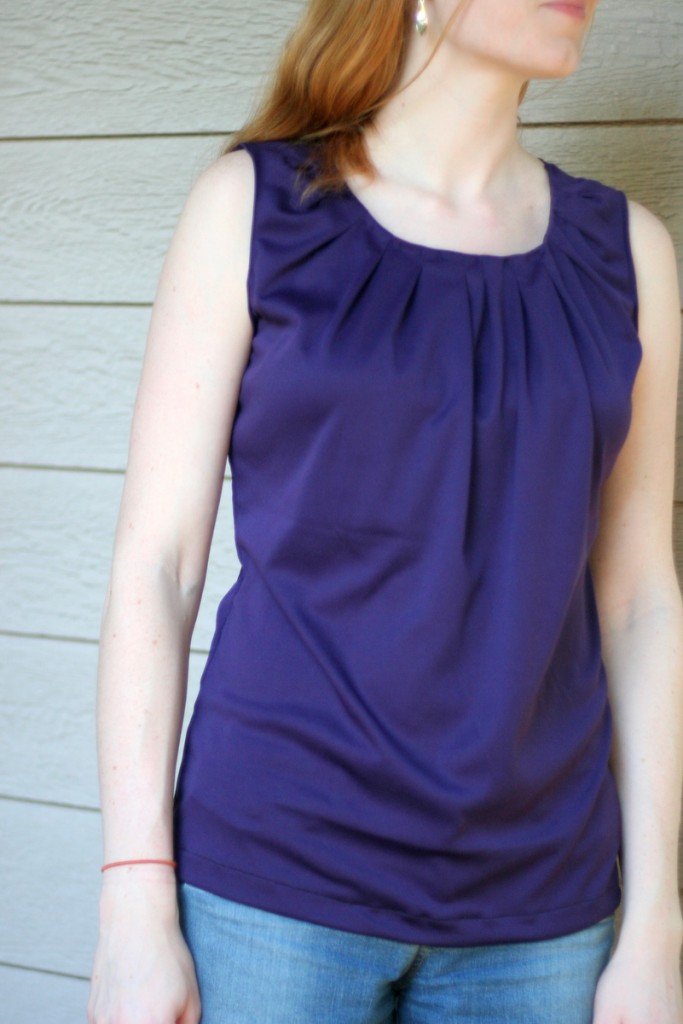
Summer top 2 gets a “meh”. This is Butterick 5354, made of a dark purple stretch knit of unknown origin. 

The “very easy” descriptor on the pattern was accurate – I finished this within a few hours. The most painstaking part was transferring the markings for the pleats from the pattern to my fabric. =) My two main annoyances with this shirt is that the facing for the front neckline keeps rolling to the front, even after I hand-tacked it in place. Secondly, the shirt drapes kind of weirdly at the bottom – this picture is mostly straightened out, but you can see the bottom half of the shirt sort of drapes horizontally instead of just falling away from the pleats. This may be because I made a smaller size than my measurements indicated (but in my defense… the pattern sizing I bought didn’t go up to my size. Whoops.)

Overall, I give this one a B-. I’ll be wearing it, but probably won’t make the pattern again.

Posted in clothing, finished | Leave a comment

Summer Top

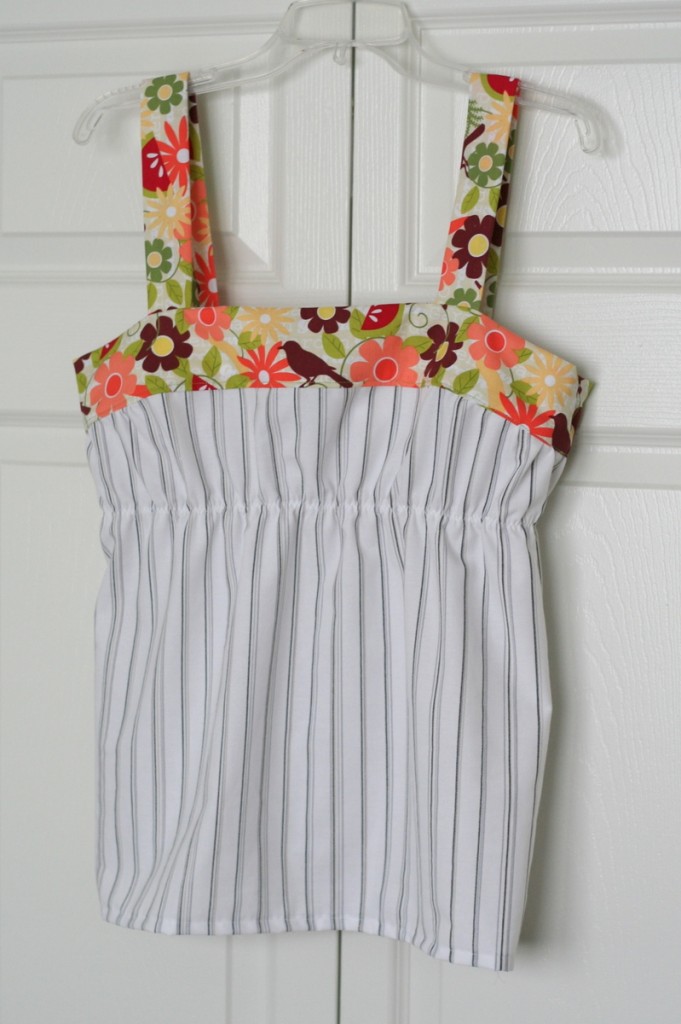
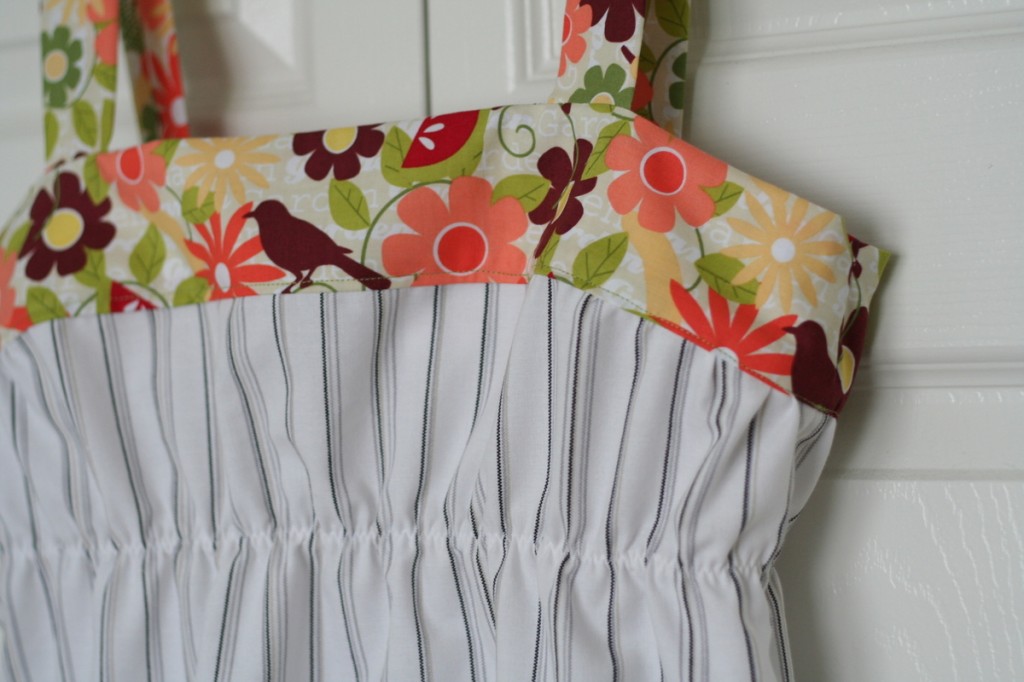
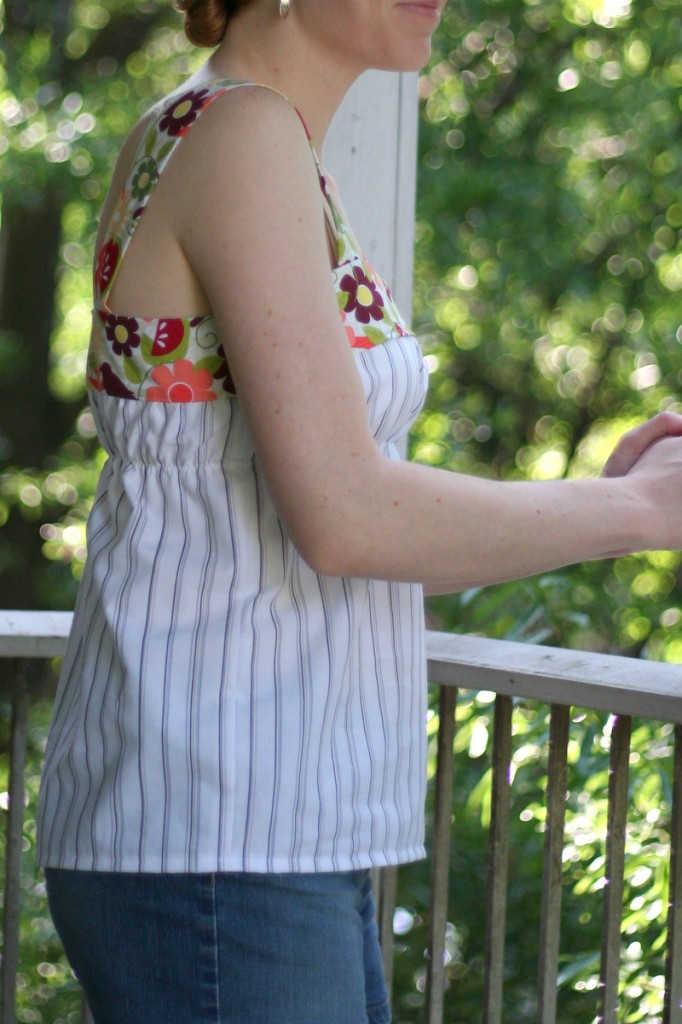
This top has been a while in the making. I had this idea that I could take two squares and four rectangles of fabric and make a top. That is true; I could, but what I got was a very boxy, unflattering top. After various gathering attempts, I finally realized that a piece of elastic would pretty much solve my problem, creating an empire-waisted summer top out of almost 2 squares (front & back) and 4 rectangles (top band and straps).

The almost is the front body piece – it has a slight angle to provide some shaping. Other than that, it’s a really simple top and this final version I made in an evening.

Summer top

The striped fabric is a thrifted sheet (my favorite fabric source). The top band & straps are made from a cotton fat quarter I had in my stash, I think from Hancock Fabrics a year or so ago. To create the empire waist, I zig-zagged a piece of 1/4″ elastic to the inside of the shirt.

Easy Summer top detail

Now that I’ve got a pattern figured out for it, I want to make myself more tops – maybe next with sleeves?

easy summer top on me

Posted in clothing, finished | Leave a comment

Works in Progress

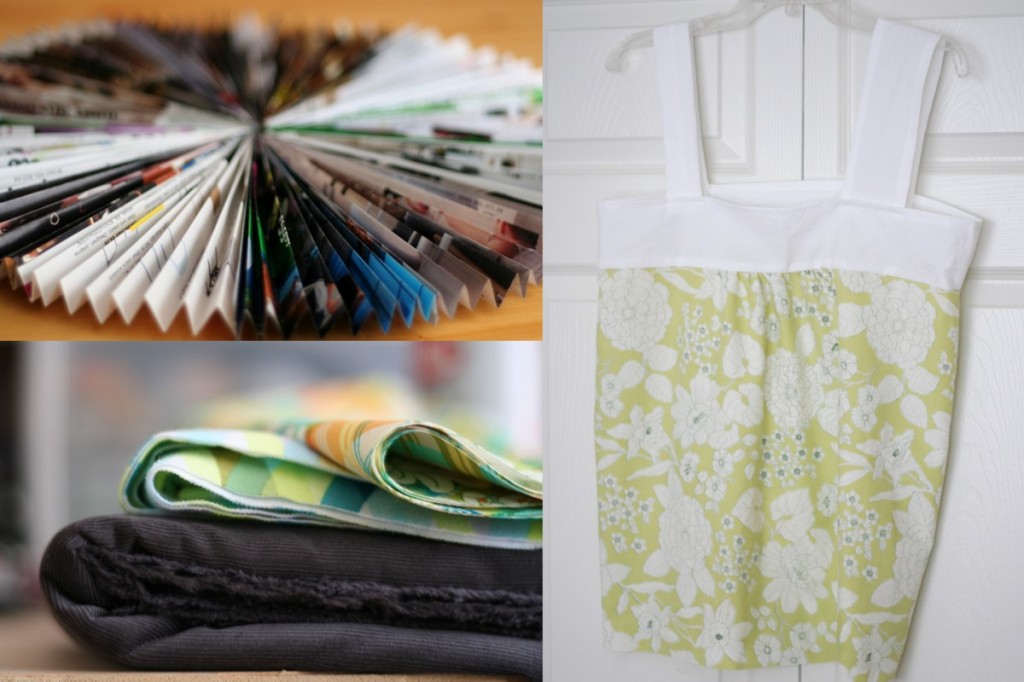
After I finished my first quilt, I wasn’t quite sure what to work on next. For 2 months or so I had hardly worked on anything else, so I had a fair number of ideas tumbling around in my head, everything from another quilt to more clocks to clothing.  I couldn’t really make up my mind, so I’ve start a bunch of things:

Works In Progress

Clockwise from top left: 1. A new recycled paper clock. Temporarily stalled after I discovered none of the clock mechanisms I have have long enough shafts.

2. A prototype for a summer top. Temporarily stalled while I debate how to make a mostly square, non-stretchy shirt look flattering.

3. New fabric! Lightweight gray corduroy for a new jacket; knit material, potentially to solve my summer top problem; a fat quarter of a happy plaid/flower print, just because.

Now to see what gets finished first.

Posted in fabric, in progress | 1 Comment

My First Quilt: Finished!

I have to say, making the binding for my quilt didn’t take nearly as long as I had anticipated. After I had the 2″ wide strip of fabric, I drew a line in pencil all the way down the middle of the strip, then folded the two edges to meet at the line, ironing as I went. It only took 1.5 random TV episodes on Hulu to finish.

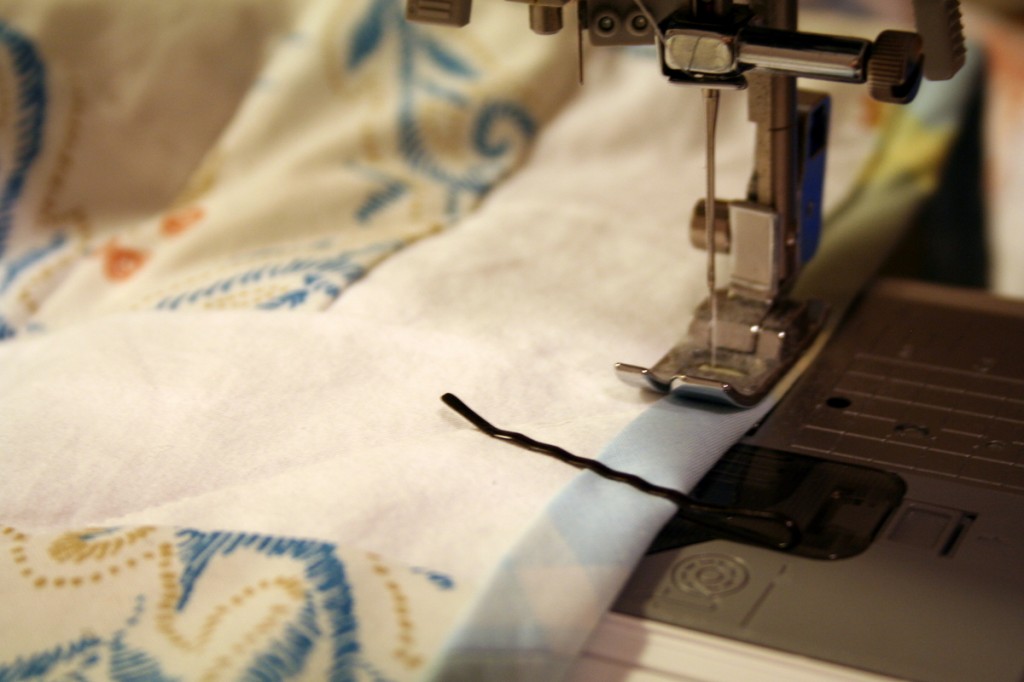
Then for the binding – I wasn’t eager about pinning the binding, since each pin would be going through 6 layers of fabric plus the batting. I had seen a blogger’s photos of her quilt binding clipped on with hair clips, which inspired me to find the closest thing I had – bobby pins!

Binding the quilt

These ended up working really well because they slid on easily, but held the binding in place. After sewing the binding and washing the quilt, I happily pronounced it done:

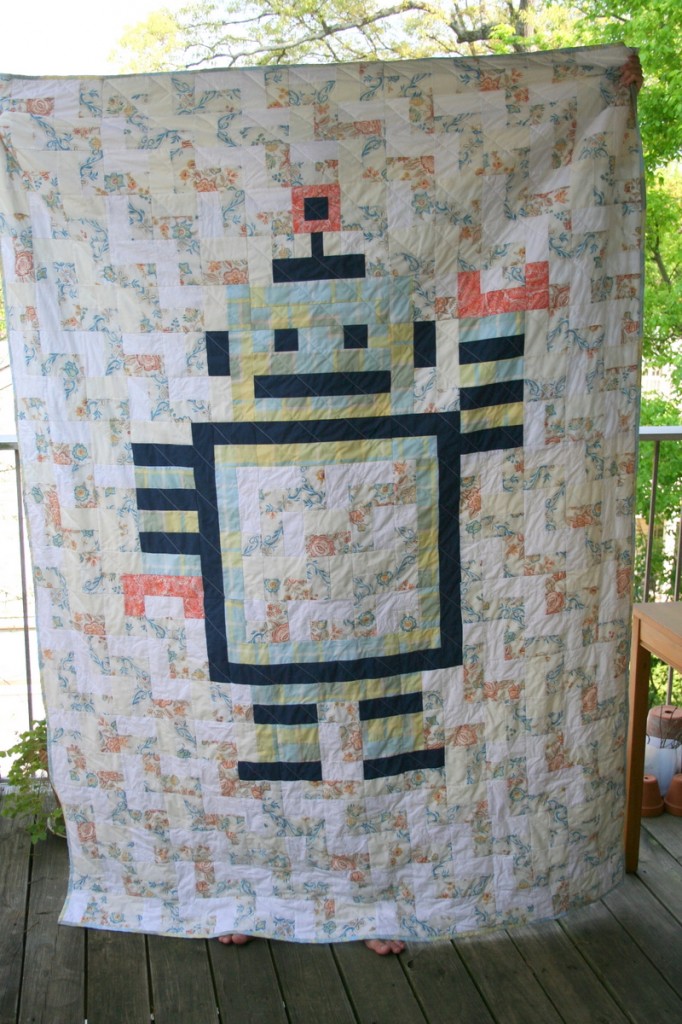
Robot quilt finished front

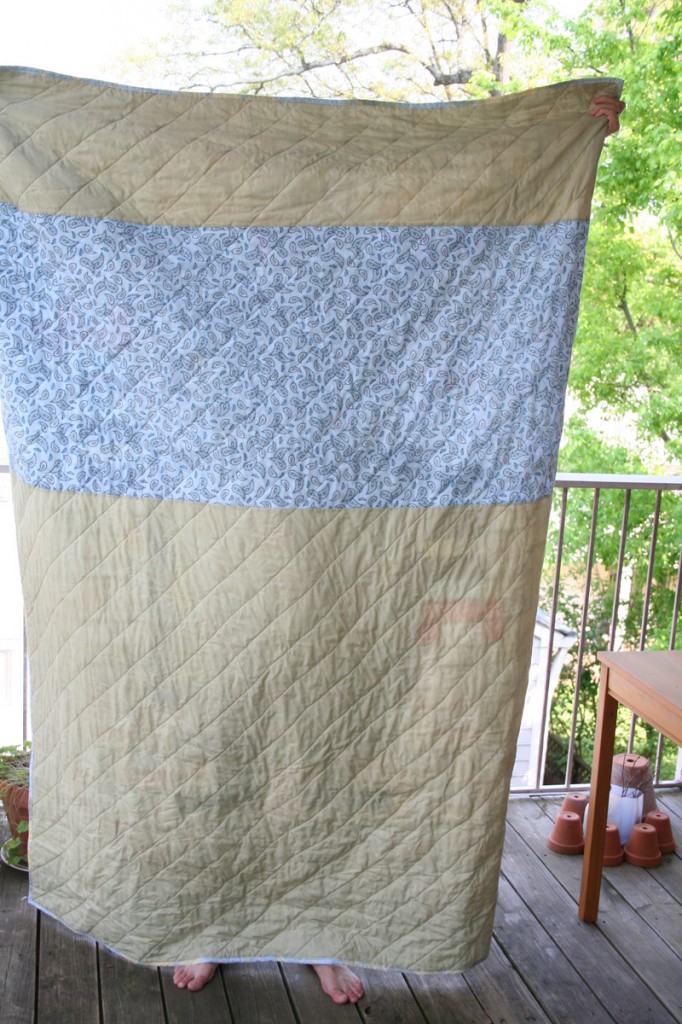
And the back:

Robot quilt: finished back

I think the last step is naming the robot – any ideas?

Posted in finished, quilting | 5 Comments

My First Quilt: Quilted!

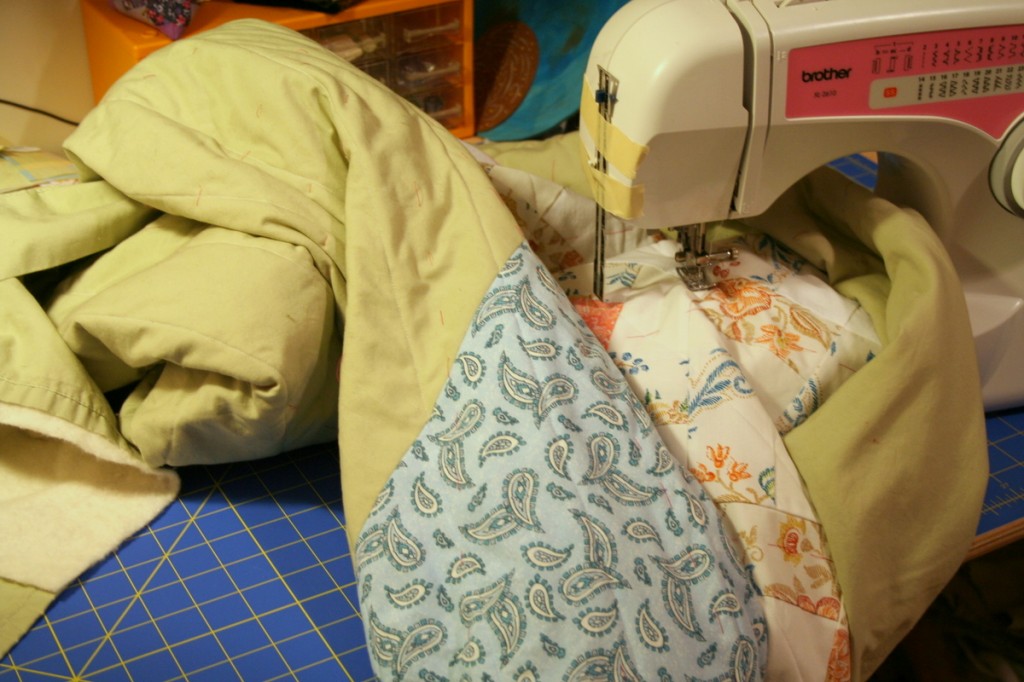
Roll & stuff method of quilting

Over the weekend, I finished the quilting step of my first quilt. The book has a great suggestion to roll up the quilt, so just the part you’re quilting is exposed. This was really helpful for fitting the bulk of the quilt through my smallish sewing machine. I also rigged up this super sweet method for keeping my quilting lines equidistant. See my seam measurer taped to the side of my machine? It just so happens to be 3″ from the needle, which just so happens to be a distance I decided would be great for my quilting lines.

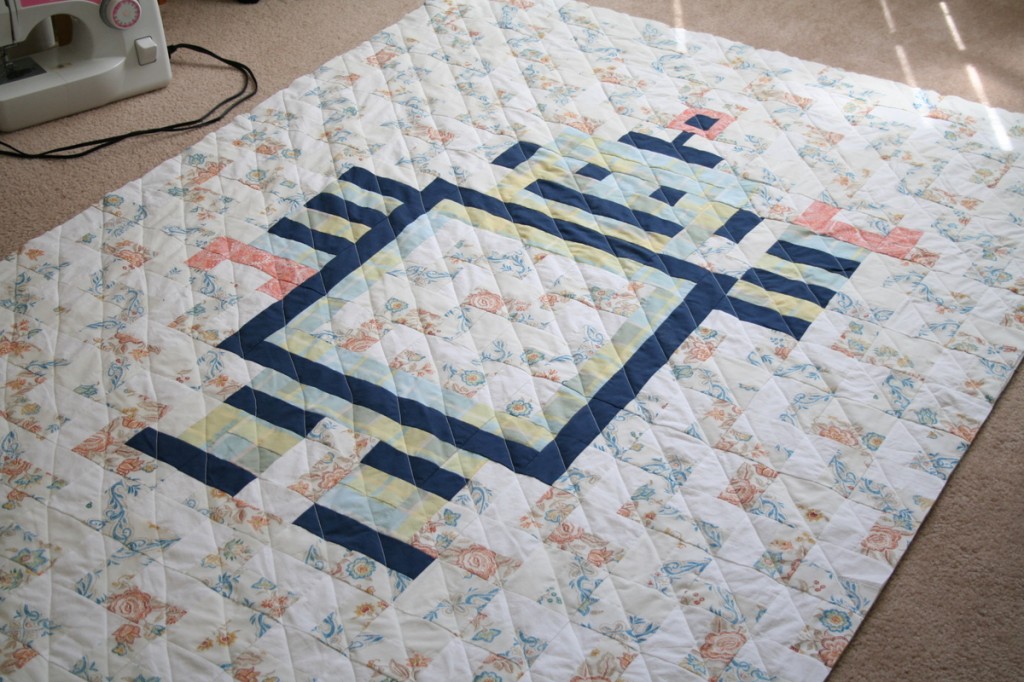
Robot Quilt, quilted

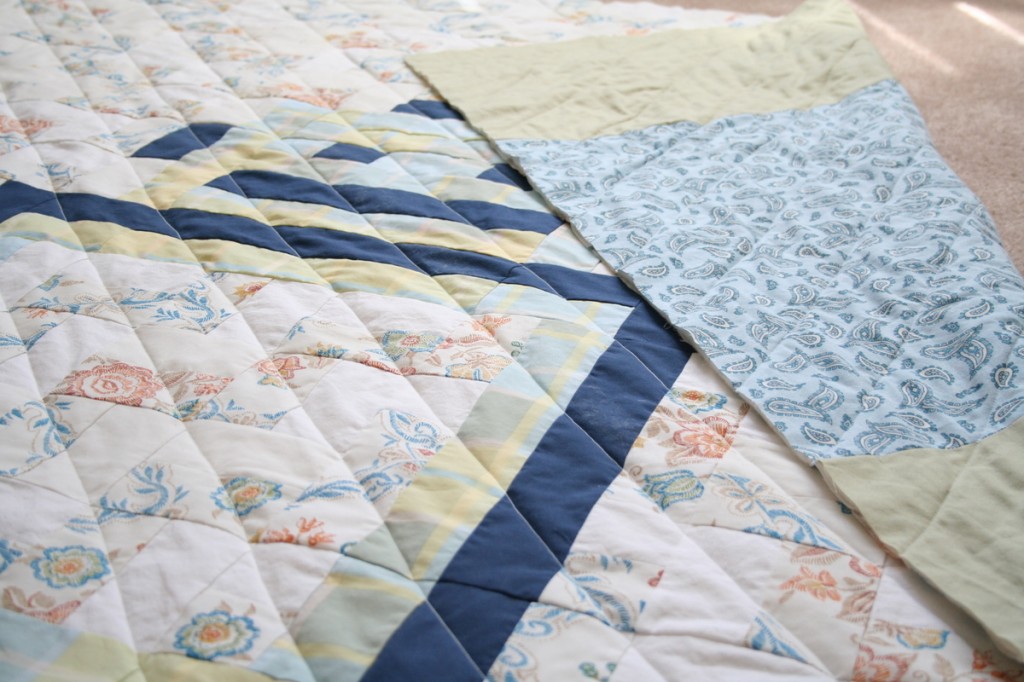
Quilted robot quilt with a peek at the backing

Now the last step! Binding the edges. I’m going to use the blue/yellow plaid from the robot for binding. So far I’ve made a realllly long 2″ wide strip of that fabric. I started to iron it into double-fold bias tape, but got discouraged after about 12 inches. I’m not ready to invest in a bias tape maker, so I think I’m stuck with ironing for now.

Posted in in progress, quilting | 2 Comments