Stitched Clock

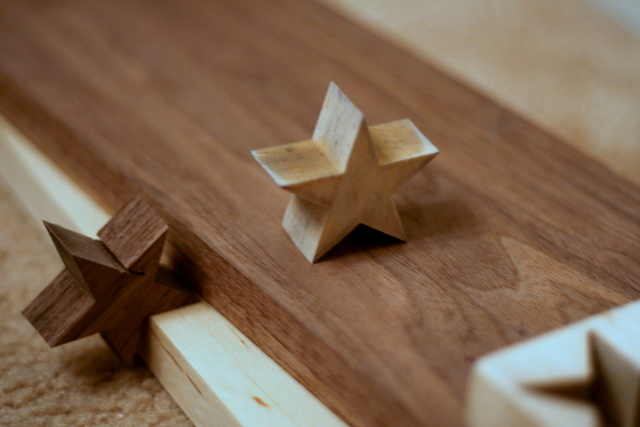
I’ve had a couple of projects lingering in the craft room for several months while I debated the details of them. This clock started its life when I asked my dad to cut me some circles out of wood to use as clock faces. He cut a few bonus shapes, too, which presented me a fun challenge of what to do with them. Months ago, I saw a stitched coffee table in Alabama Studio Style that I really liked. The idea of stitching in wood was really intriguing – combining hard & soft materials.
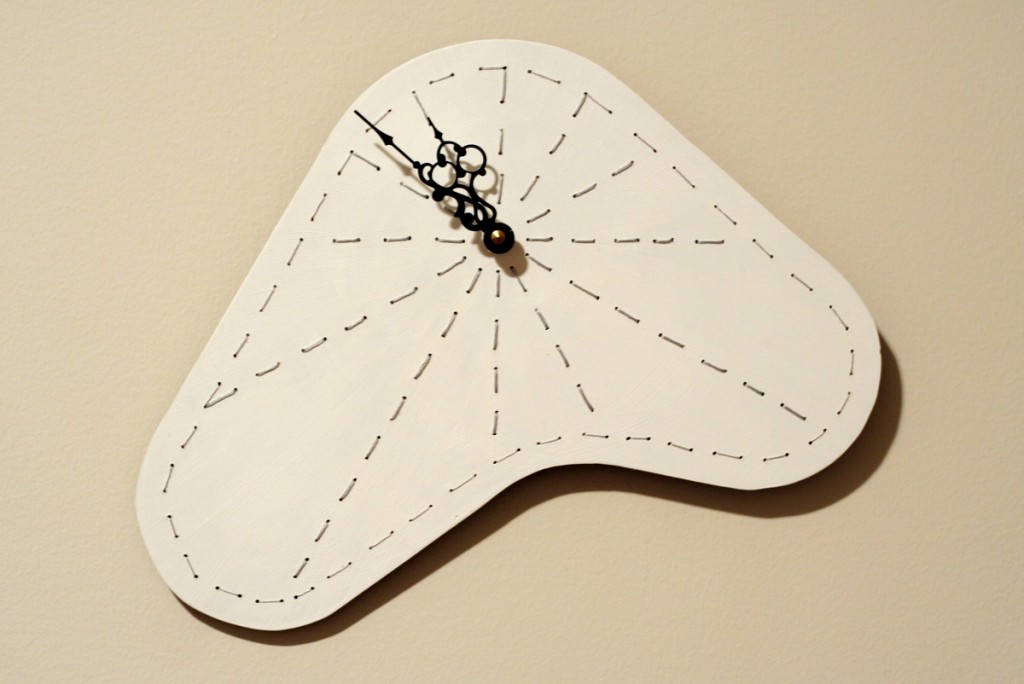
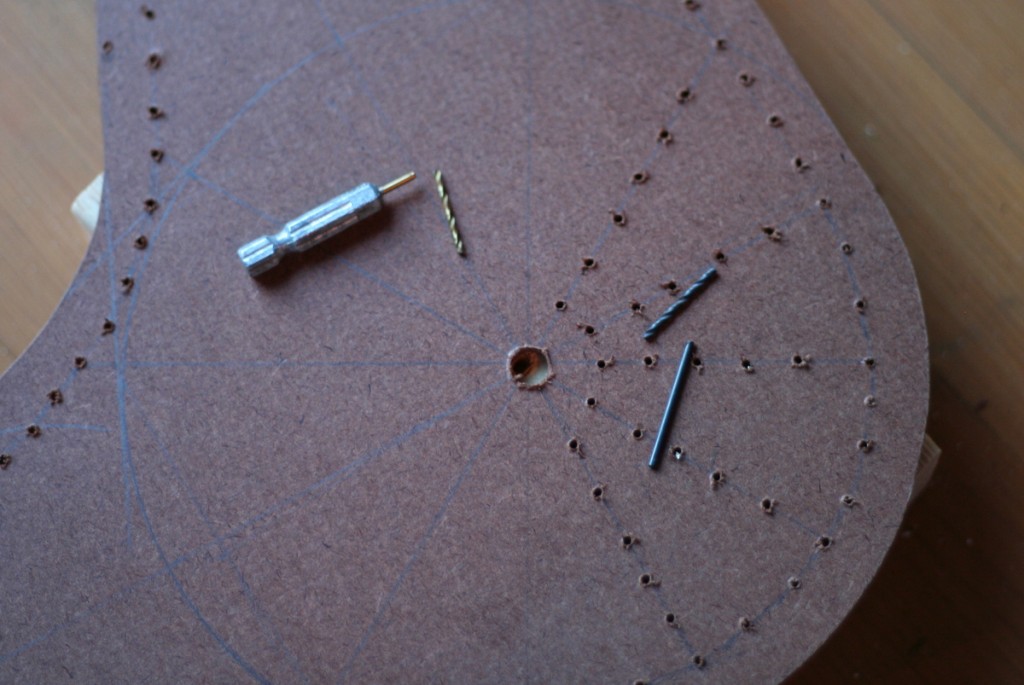
Stitched clockAfter sketching some designs, I drilled lots of tiny holes (and broke a few drill bits along the way). I painted it white, and then it sat for several months, while I tried a variety of thread colors and stitching patterns.

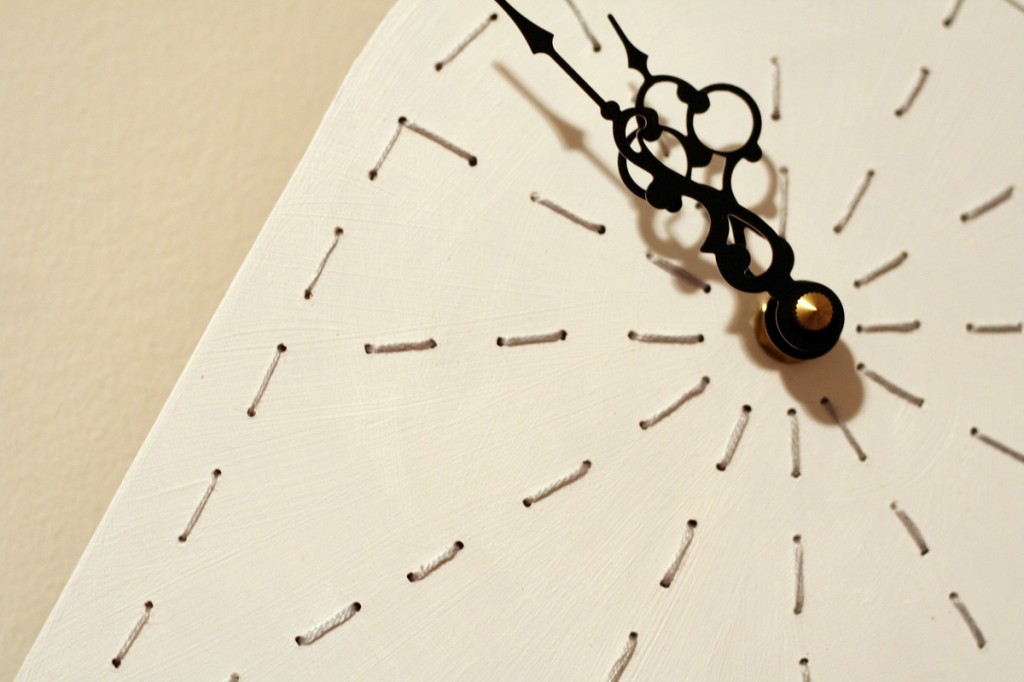
Stitched clock detail

In the end, I decided on a blue-gray embroidery floss for the stitching, with thicker strands along the hour markings and a thinner border all the way around, in a simple starburst pattern. I really like how this turned out, but next time I will plan my drilling a little bit better so that there are an even number of holes – the stitching is a little inconsistent in order to use all the holes! Available in my etsy shop.

Posted in clocks, finished, stitchery | 1 Comment

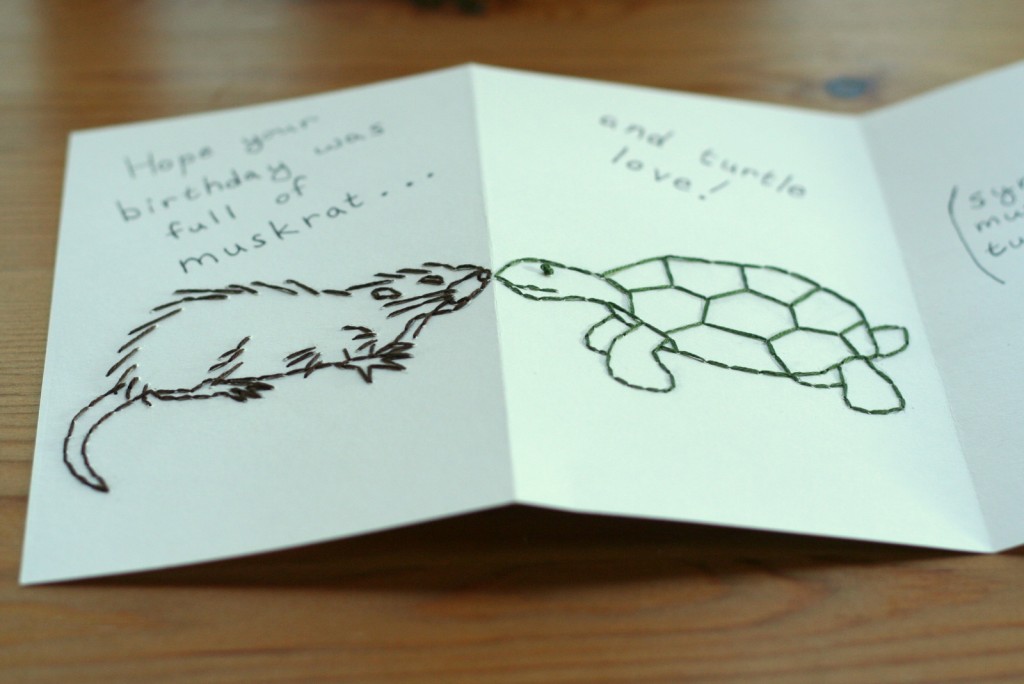
Why yes, I did just embroider a muskrat

On a greeting card. For my father-in-law’s birthday.

Embroidered Muskrat & Turtle

And a turtle too, because if you’re embroidering a muskrat you might as well add a turtle, right?

Posted in stitchery | Leave a comment

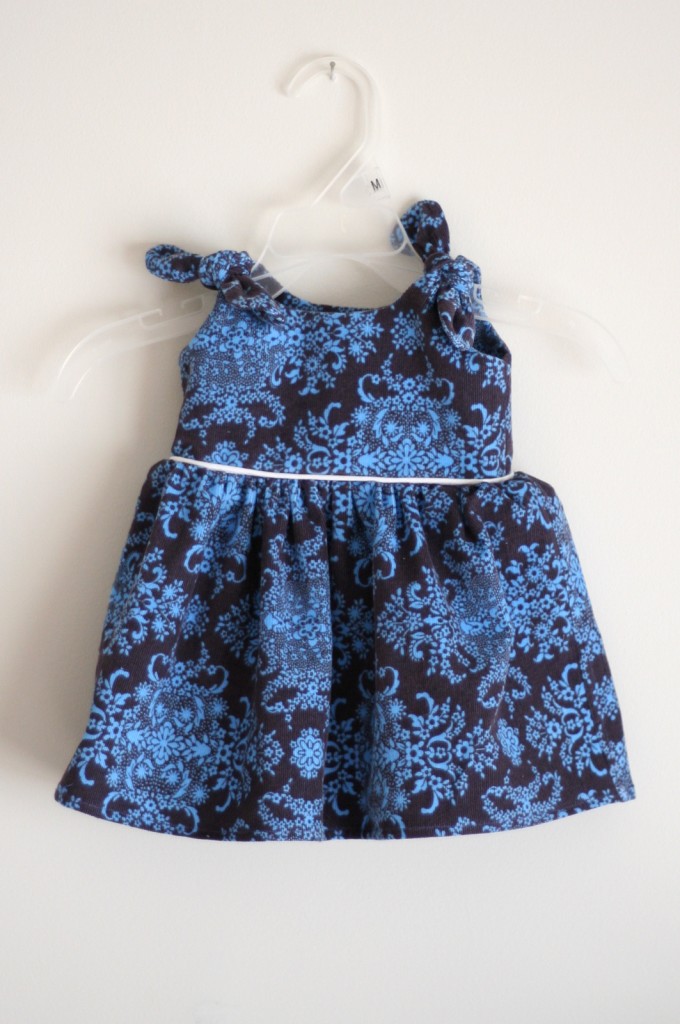
Itty Bitty Baby Dress, take 5

I am lucky that so many of my friends who are having babies are having girls, because I have the perfect go-to gift for them – the Itty Bitty Baby Dress!

Itty Bitty Baby Dress - cord version

This version is a little different than the 4 iterations I’ve made before, since it’s for a winter baby. I found this adorably soft corduroy (Amy Butler’s Soul Blossoms) and decided to make it a jumper, so I gifted it with a pack of long-sleeve onesies so the baby can be cozy warm during the cold winter months in Florida (ha!).

Posted in clothing, finished | 2 Comments

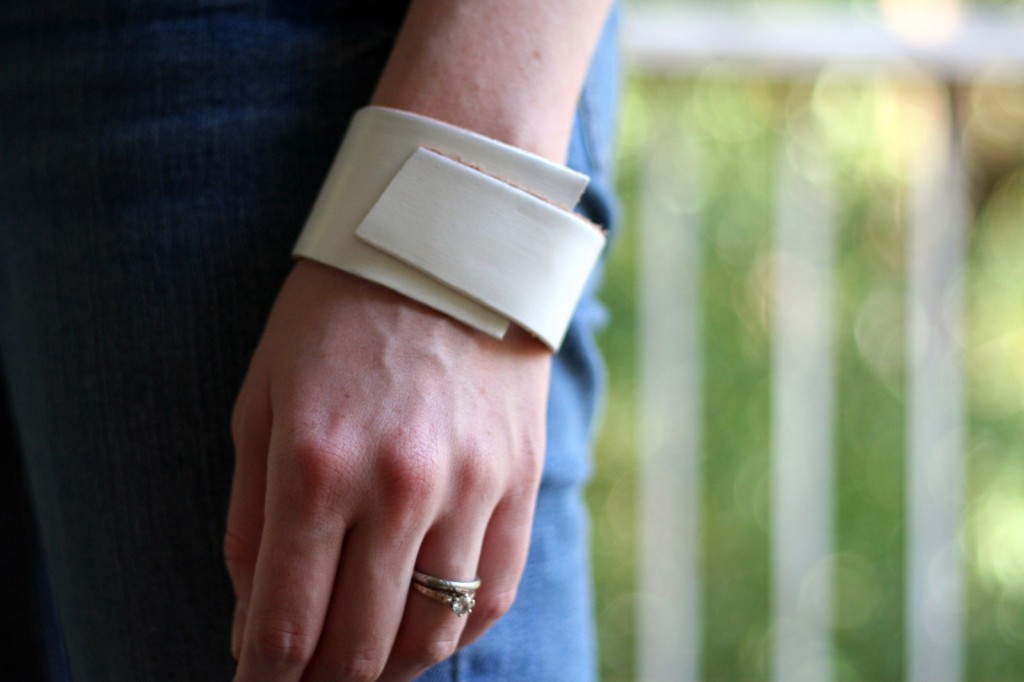
Painted Leather Cuff Bracelet

I have a bag full of leather scraps, most of them 2-3″ wide and 4-8″ long. I’ve been pondering what to do with them for a year or two, pulling them out every couple of months to stare at them. A few weeks ago, I decided to turn one into a cuff bracelet. I painted it white and glued the ends together so it can slide on and off my wrist.

Painted leather cuff braceletI haven’t decided yet whether or not I actually like it… thoughts?

Posted in Etc | Leave a comment

Now where does this screw go?

I had grand plans to work on my abandoned corduroy jacket this evening, but 6 inches into the first seam, my needle hit a pin, broke in three, and bent the pin under the feed dogs. Granted, I always sew with pins in seams and don’t take them out as I go (surely others do this too?). But I’ve been sewing since I was 10 and I’m pretty sure this is the first time I ever broke a needle because of it.

But of course, the pin was lodged impossibly in the bottom half of my sewing machine. I tried to pull it out; it broke, dropping the bottom half somewhere in the depths of the bobbin area. An hour and a half and two episodes of ANTM later, I had retrieved the pin half, extracted copious amounts of fuzz, and had a reassembled machine plus one extra screw… Fortunately pushing at various bits of the machine revealed where it belonged and now we are back to normal. I hope.

Posted in oops | 1 Comment

Handmade Cribbage Board

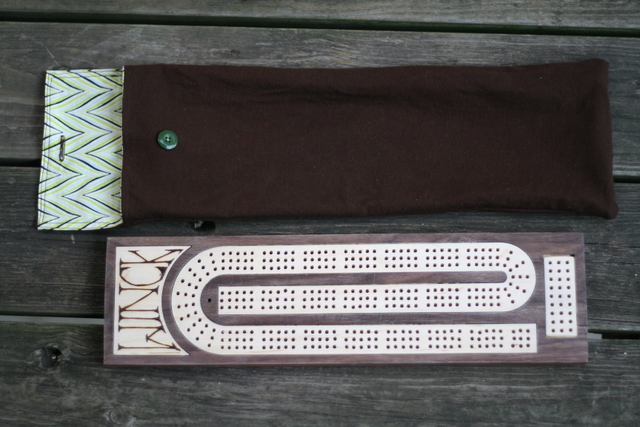
As a wedding gift for Ryder’s brother and his new bride, we decided to make them a cribbage board. After finding a template online, we purchased two 3/4″ boards from a hobby wood shop – walnut and white maple. With two scrap pieces the same thickness, we taped them together and tried using our scroll saw to inlay the wood – cut through 2 pieces at the same time, then swap the inset pieces. The scroll saw just didn’t cut it though (har har). The wood was too thick and the blades too flimsy to cut straight lines.

Fortunately Ryder has access to a water jet at school, so he made a test cut and it worked!

Water jet testing

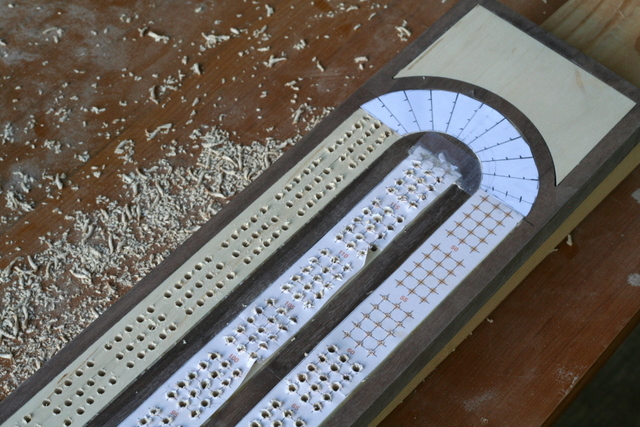
After cutting out the shape of the track along with a mantle piece at the top, we fit the pieces together, glued them in place, sanded the wood flat, and began drilling almost 400 holes.

To keep the depth of the holes even, I wrapped a piece of masking tape around the drill bit 1/2″ from the tip, and we drilled in until the tape was brushing the top of the board. (This is when a drill press would have been nice. My arm got very tired.)

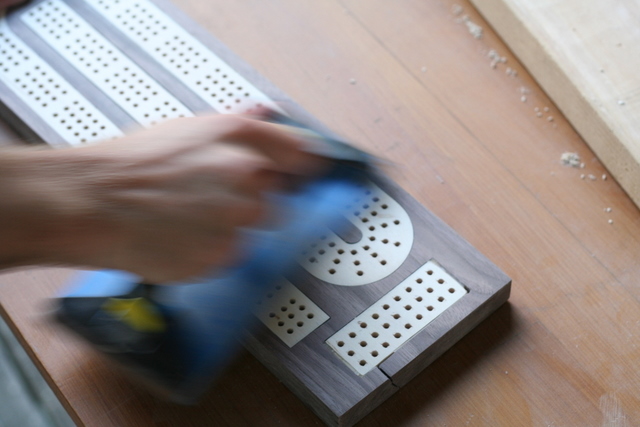
Sanding after drilling

A final round of sanding.

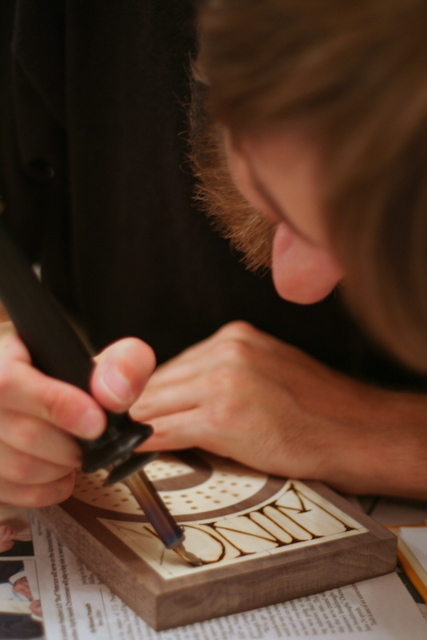
woodburning

Ryder woodburned a “Winck” mantle above the cribbage track.

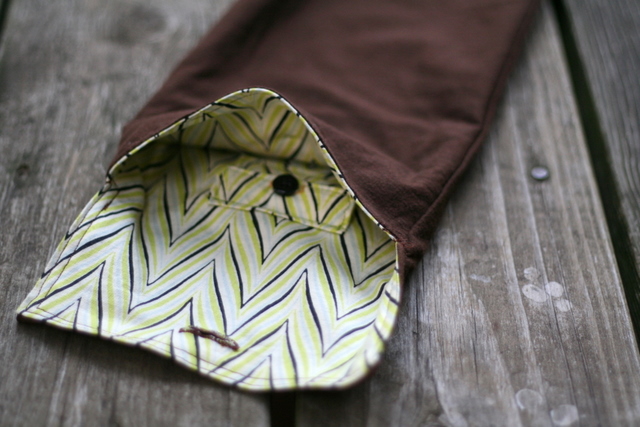
cribbage peg pocket

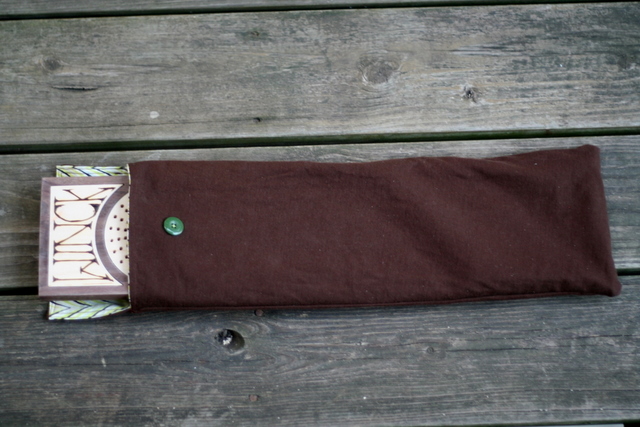
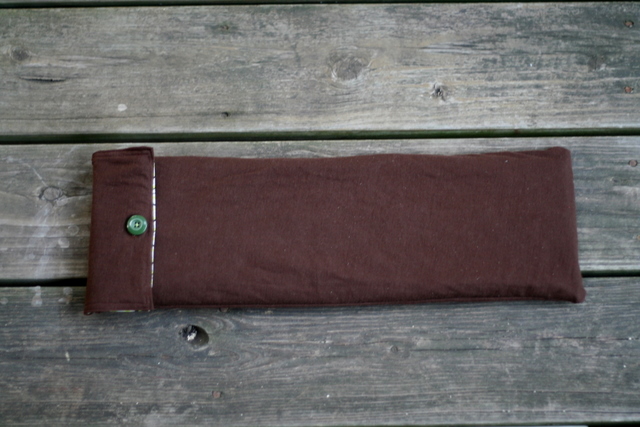
Meanwhile, I sewed a bag for the cribbage board. It’s just big enough for the cribbage board and a deck of cards. I added a tiny (1″x2″) pocket with a button flap inside, to store the cribbage pegs.

cribbage board & bag

We finished the board with a couple of layers of polyacrylic. The bag is made of brown jersy on the outside, and a fun zig-zagged cotton inside. Ryder didn’t want the bag to look too frou-frou, so I kept it pretty simple/masculine on the outside.

Sliding in

ta-da!

Ta-da!

Posted in finished, wood | 6 Comments

Bridesmaid Dress Refashion

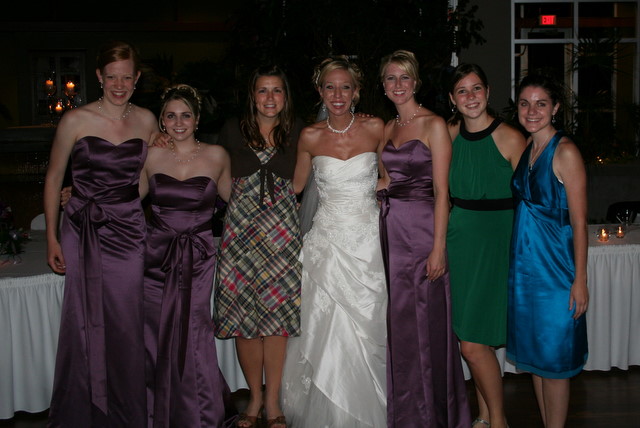
I don’t know about you, but I have a few bridesmaid dresses hanging in my closet that, while lovely, aren’t likely to get worn again. For my brother-in-law’s upcoming wedding, I decided to attempt to refashion this purple dress from Cheri’s wedding into something a little more casual. I gave myself enough time, though, that if it turned out badly, I could always

Cheri's weddingI assumed this would be a quick cut-off-the-bottom-and-rehem endeavor, so I carefully measured… and cut off a significant amount of fabric.
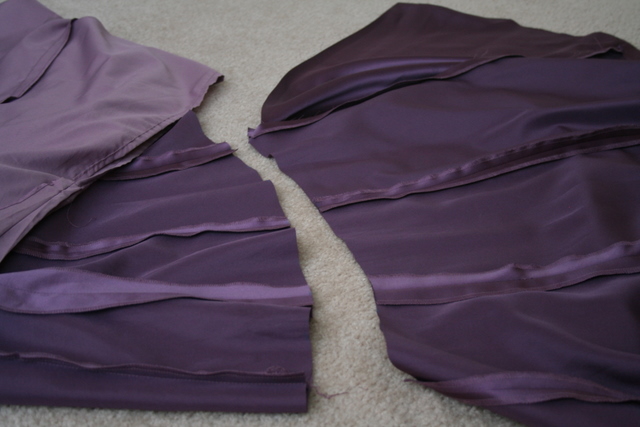
cutting the dressBut, since this was a floor-length dress, it didn’t just go straight down from the hips. It gradually belled out so that you could actually walk in the dress, and it had a little bit of a train at the back. I didn’t think about this when I first cut & hemmed it, but the end result was that the last 6 inches or so of the newly-shortened dress still had a distinctive outward slant – which looks rather awkward on a short dress.
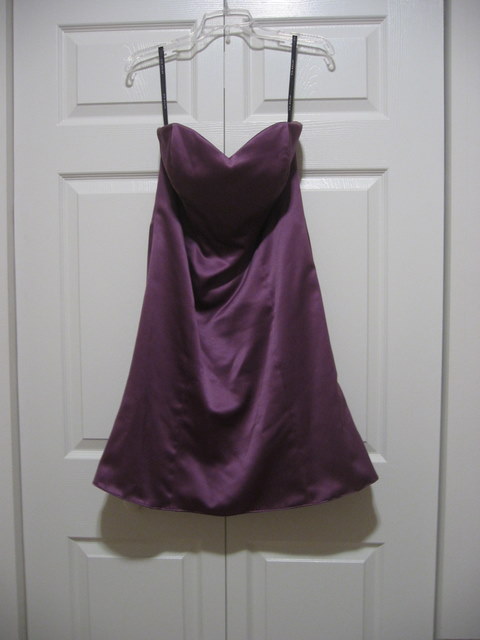
awkward hem flip(I realize that this doesn’t look so bad in a photo, but it looked really awkward on me…)
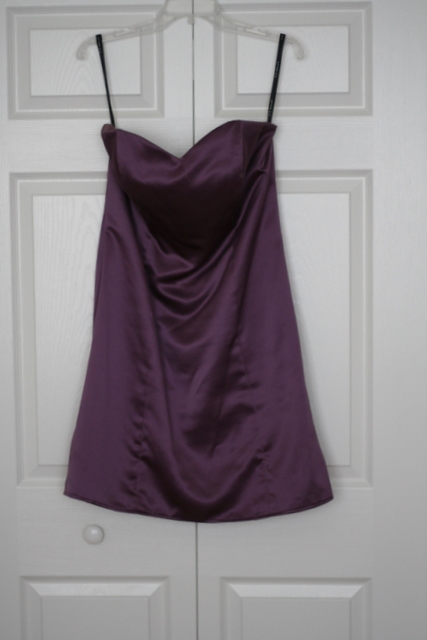
So, I ripped out the last several inches of all 7 of the vertical seams and resewed them to be more parallel with each other, so that the hem of the dress falls straight down, rather than sticking out oddly.

finished refashionMuch better! I think it still needs something around the waist, and I think I can use the original sash, just wrap it around my waist twice to take in the extra length. But now my question is: knot in front, or in back? Or something else entirely?
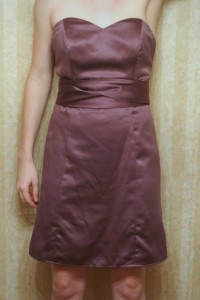
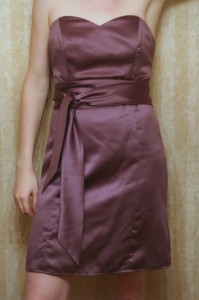
knot in back   

Posted in clothing | 1 Comment

Musical Burrito Kit for the Car

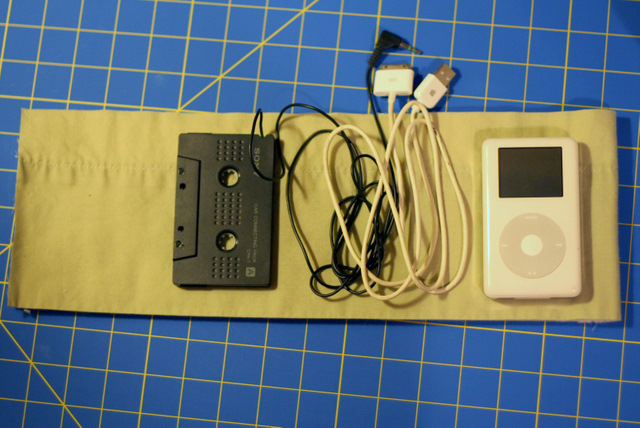
We recently realized that instead of lugging 2 large CD cases with us on every road trip, we could use the iPod + car adapter + USB-to-cigarette-lighter converter to have a fully charged, 60GB music-holder with much less bulk. However, this meant many small objects needed to be transported to and from the car. Our first solution was our hands, but I figured it’d be much more convenient to have the musical burrito ready to go whenever we were headed on a road trip, especially since the only time we use the iPod now is in the car.
Organizing the cords
Using some leftover bits of quilt backing (including cotton batting to cushion the iPod), I laid out my items and cut the fabric more or less to size.

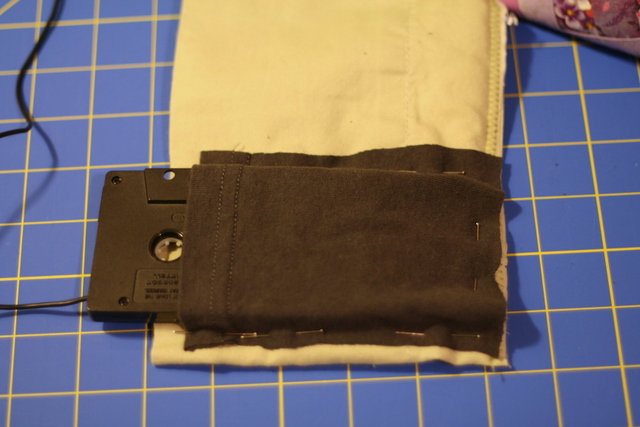
Fitting the tape adapterTo make the tape adapter holder, I used a bit of a t-shirt sleeve (I have a stack of t-shirts from Salvation Army for just such a purpose as this). Since there is some “height” to the adapter, I first pinned one side of the holder, then put the adapter in place and wrapped the fabric around it before pinning on the other side and bottom – so it actually fits in.

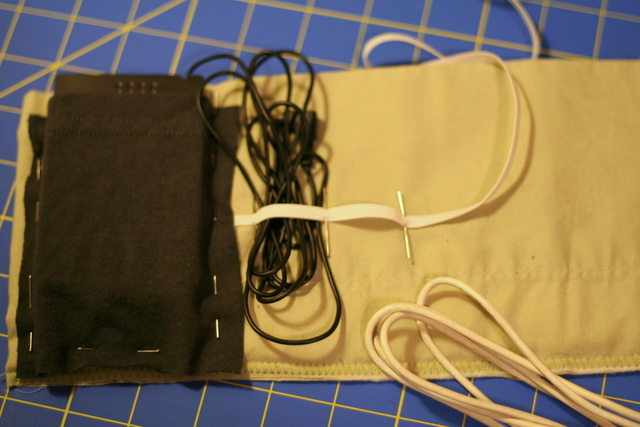
Stretching the elasticNext, I took a bit of elastic and pinned it in place, again pinning with the cords in place so that there’s a bit of a bubble for the cords to slide in.

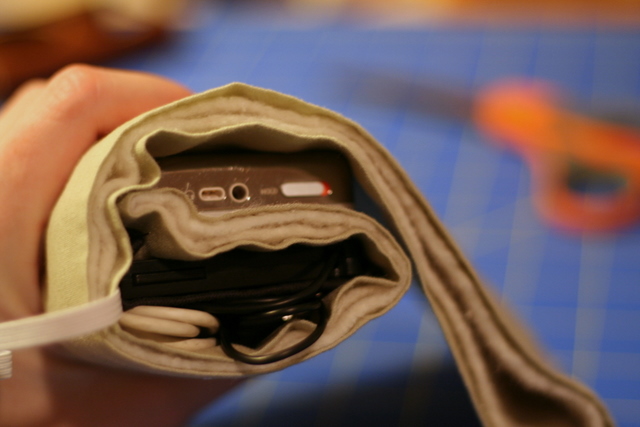
Testing the technology burritoTo figure out where to put the sleeve for the iPod, I rolled up my musical burrito and then marked on the fabric where the edges of the iPod should go.

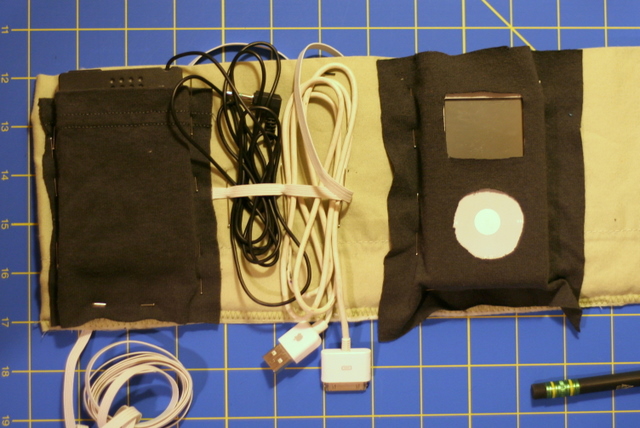
iPod sleeve cutUsing the same method as for the adapter sleeve, I cut another piece of t-shirt and pinned it over the iPod. I then messily cut holes for the screen and scroll wheel. Fortunately jersey material doesn’t fray so I’m just leaving the edges raw.

My main dilemma now is the top edge of the iPod sleeve – it’s too tall right now, but if I cut it to size, there will only be a skinny bit holding the top of the iPod, which doesn’t seem like it will do much good to keep everything in place.

Next up: sewing it all together!

Posted in in progress, Sewing | 3 Comments

Progress: Elk cross-stitch

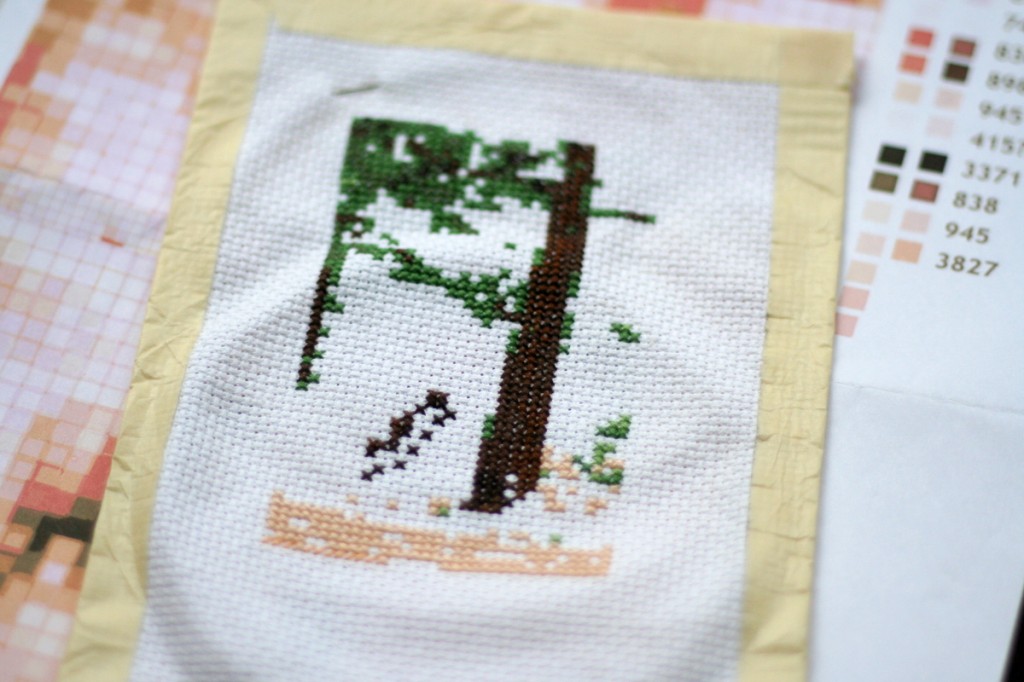
Elk cross-stitch in progressI realized, after my other posts about this cross-stitch project, that I had been referring to the animal as a moose, when in fact, it is an elk. Oops.

Anyway, I finished most of the tree & greenery on the long car ride to the beach, but the project didn’t get much attention while we were there – too many games to play, meals to eat, and relatives to hang out with. We took a trip up to my in-laws’ over the 4th of July, and I got a good way through the tan grasses at the bottom. I primarily have the rest of the grass and lots of sky left. But I have a feeling that I’m going to wind up with some holes to fill at the end, since my “pattern” doesn’t have exact colors on it… we’ll see. In the meantime I’ve gotten distracted with my sewing machine & other power tools, so this probably won’t get worked on again until the next long car trip – in just a few weeks.


Posted in in progress, stitchery | Leave a comment

Lesson Learned: 1/16th” drill bits

1/16th inch drill bit lessons

  1. When your arm starts to get tired while drilling lots of holes with a 1/16th” drill bit, take a break.
  2. When you break your first 1/16th” drill bit, take a breather before starting with your second bit.
  3. If you fail to follow 1 & 2 above, give thanks that a pair of 1/16th” drill bits are only $1.99… and buy two packs.


Posted in clocks, oops | 1 Comment