My First Quilt: Sandwiched & Basted

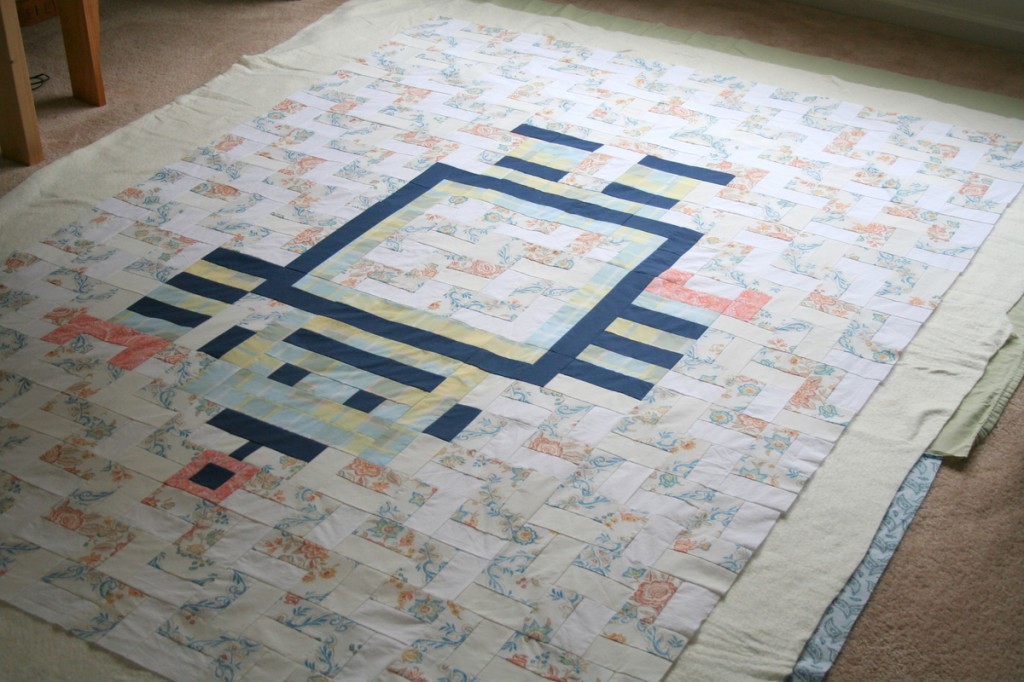
Robot quilt sandwich

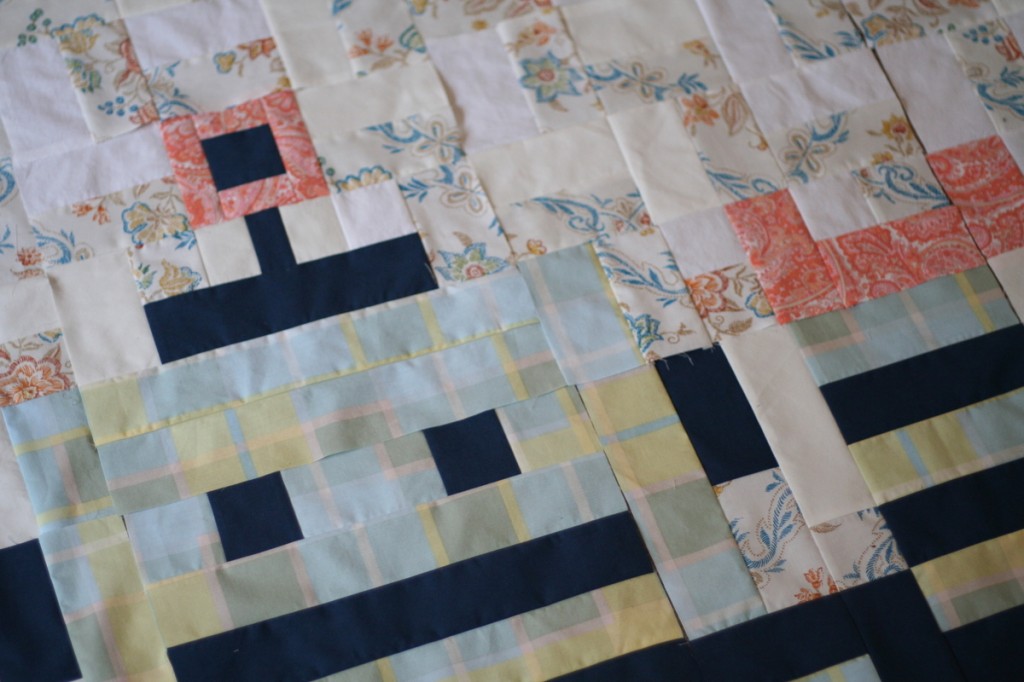
Taking up all available floor space in my craft room, here’s the robot quilt sandwich – quilt top, cotton quilt batting, and the backing. I combined two fabrics from my pile of thrifted sheets to make the back.

Robot quilt basted - detail

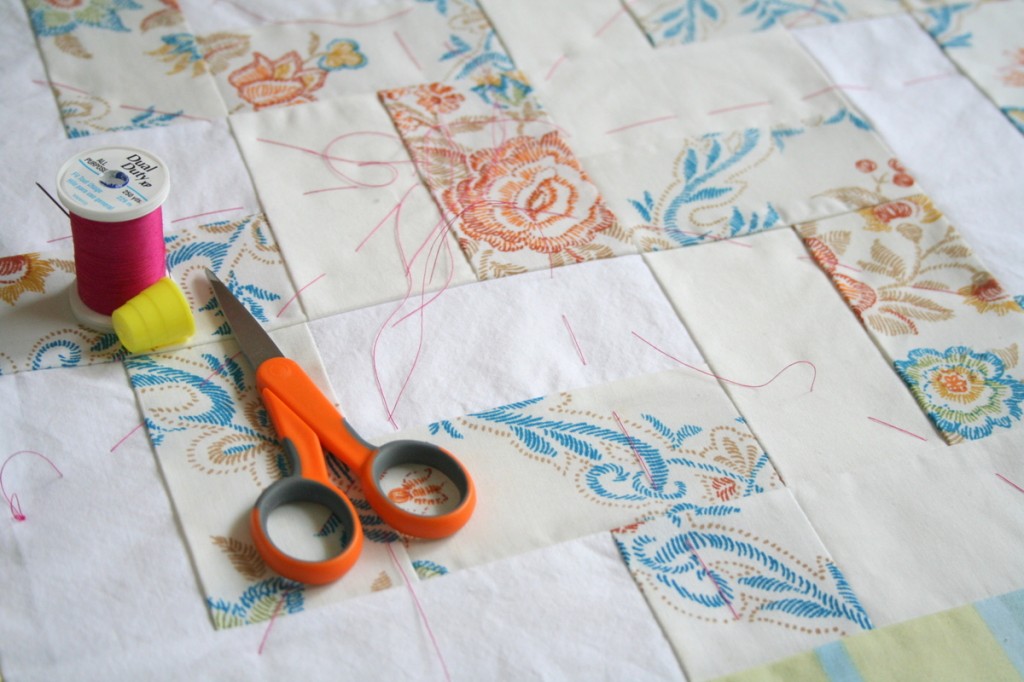
I hand-basted the quilt sandwich with needle and thread. I was anticipating this would take a long time, but surprisingly, it only took me a couple of hours. The biggest challenge was basting the quilt layers together without basting it to the carpeting. We have very few non-carpeted surfaces in our house, and the few we have are not nearly big enough to accommodate this 5’x7′ quilt, so I had to make do with carpeting. Fortunately, I only sewed it to the carpeting in a few places. =)

Robot quilt - rolled and ready for quilting

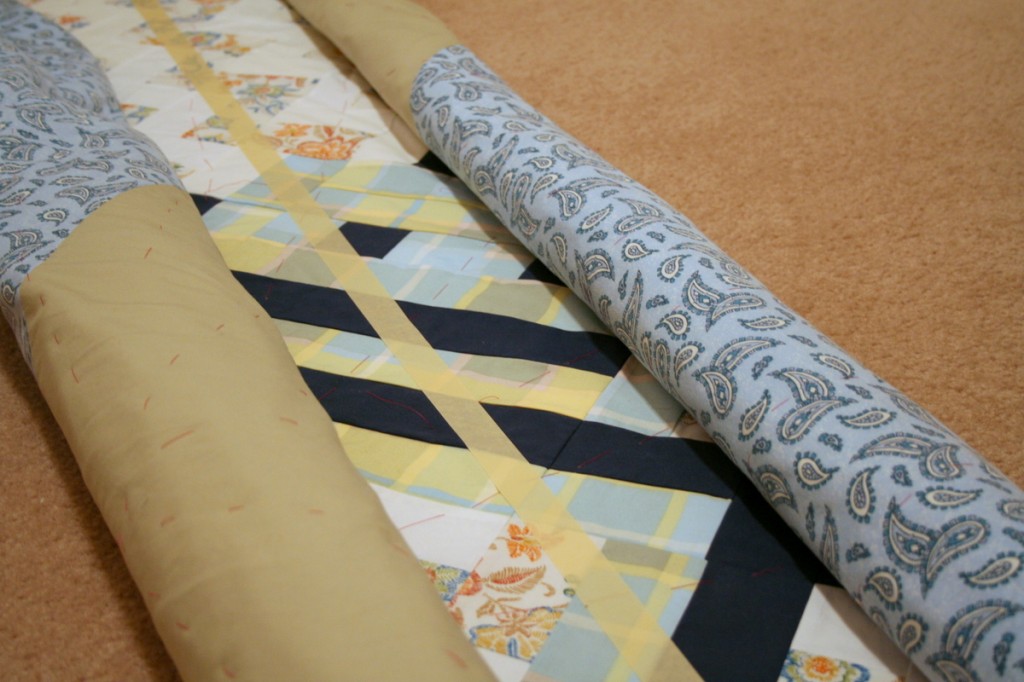
Following the suggestion of the book from where this quilt pattern came, I used a long piece of wood (from a very unfinished shelving project) to mark a diagonal line across the quilt, then put a piece of masking tape next to that straight edge to mark my first quilting line. I rolled the two sides in towards the line so the quilt will fit through my little sewing machine. Next up: the actual quilting of My First Quilt!

Posted in in progress, quilting | 1 Comment

My First Quilt: finished quilt top!

Finished robot quilt top

Yay! Now for the next step – basting and quilting the quilt. First I have to figure out where to buy batting, though. And what fabric I want to use for the back. I have a feeling this is going to be the part of the process where I stall and get distracted by other projects, especially now that spring has sprung in Atlanta (hello, allergies!), and the weather when a quilt is appreciated is quickly vanishing.

Posted in in progress, quilting | 1 Comment

My First Quilt has a face!

Robot Quilt has a face

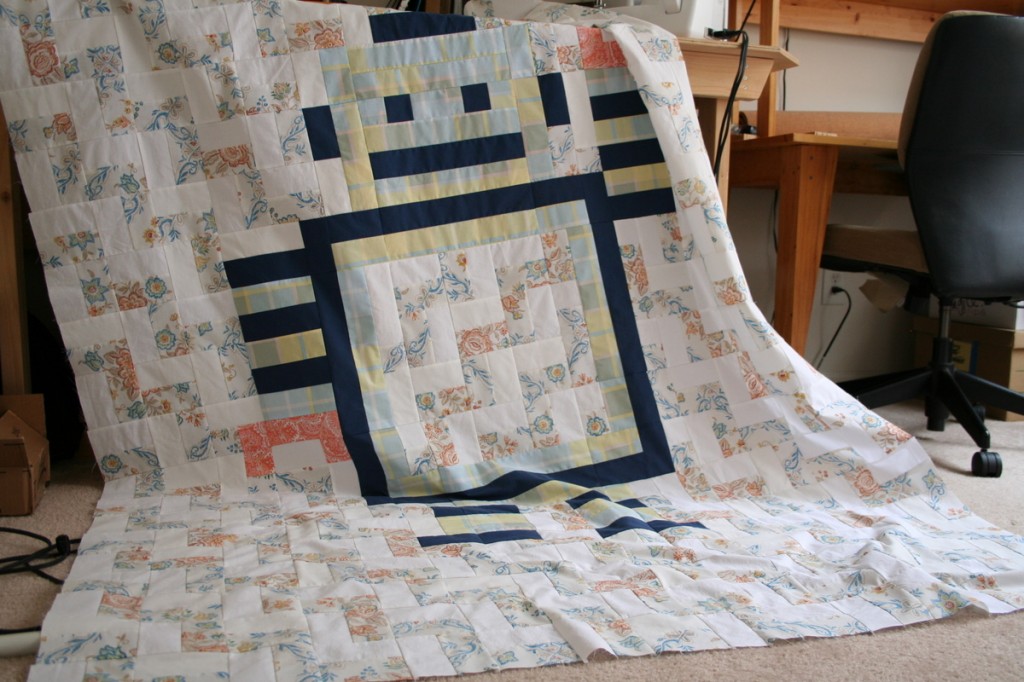
I have to be honest, I wasn’t entirely sure about this robot quilt for the first few rows of blocks. Then his face appeared out of four blocks, and I was reassured that it is really cute.

I’ve decided to add one row of blocks to the bottom of the quilt. This will make the finished length about 7 feet long, instead of 6, which means I won’t have to worry about my feet sticking out of the end of the quilt, which is really the goal for me with any blanket/quilt/afghan. Current status: 22 of 35 blocks done!

Posted in in progress, quilting | Leave a comment

My First Quilt: Making Progress

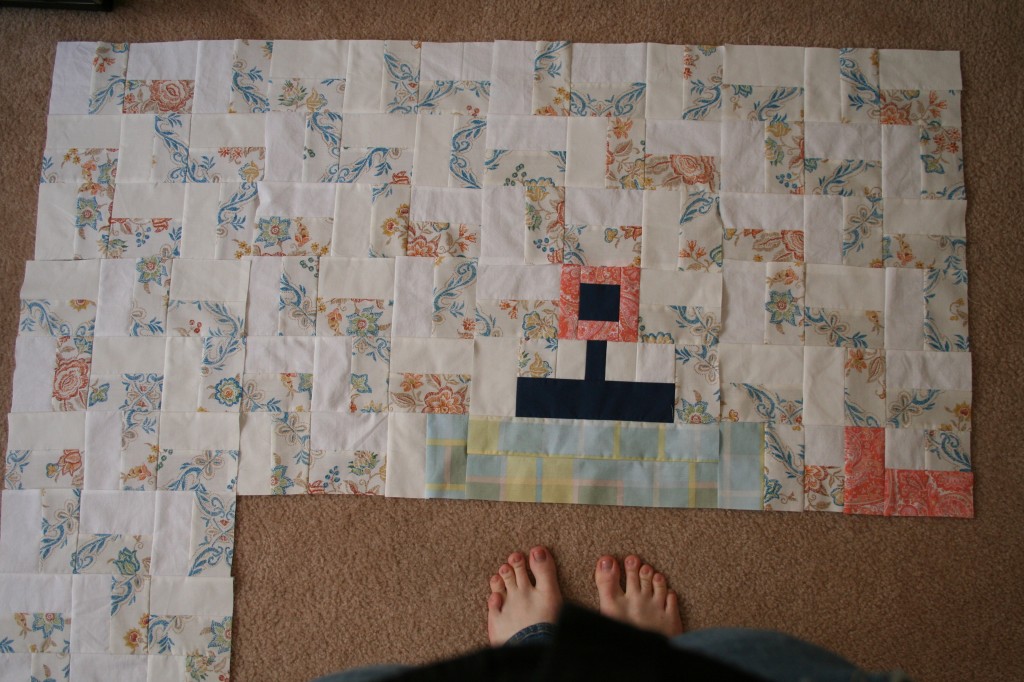
Robot Quilt - Making Progress

Making progress – 9 of 30 blocks done (unless I decide to lengthen the quilt, in which case I’m only at 9 of 35 blocks done…). Toes shown for scale.

Posted in in progress, quilting | Leave a comment

Reversible Fabric Shoulder Bag

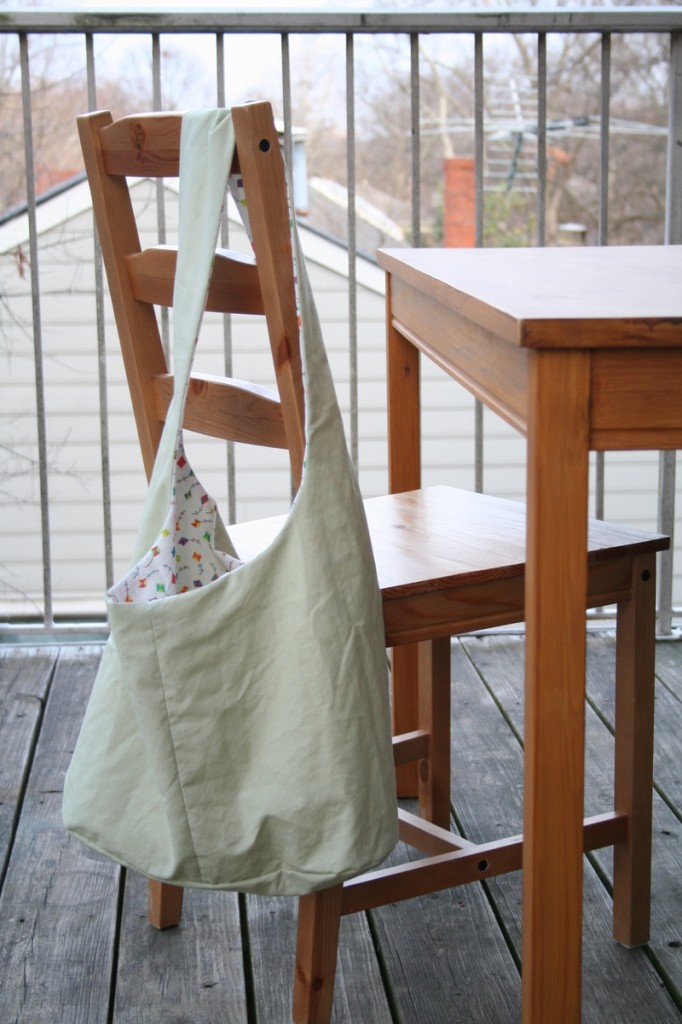
For Christmas, I got a reversible over-the-shoulder bag that is the perfect thing for taking all my stuff to work with me – it fits my lunch bag, wallet, keys, etc. and rests nicely across my back when I bike to work.

Chloe's Bag

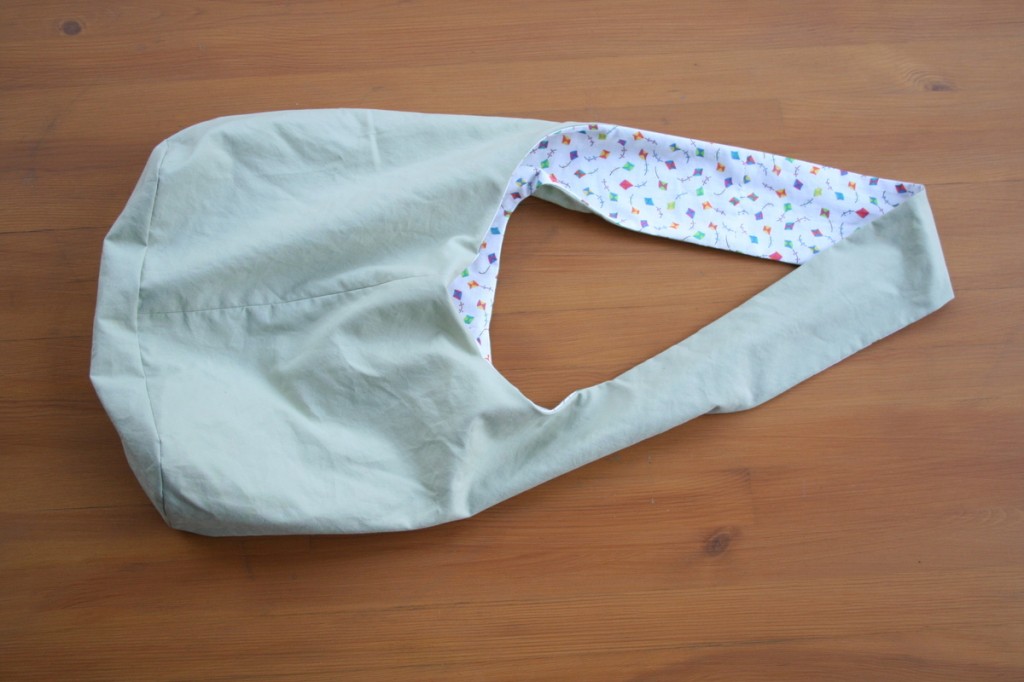
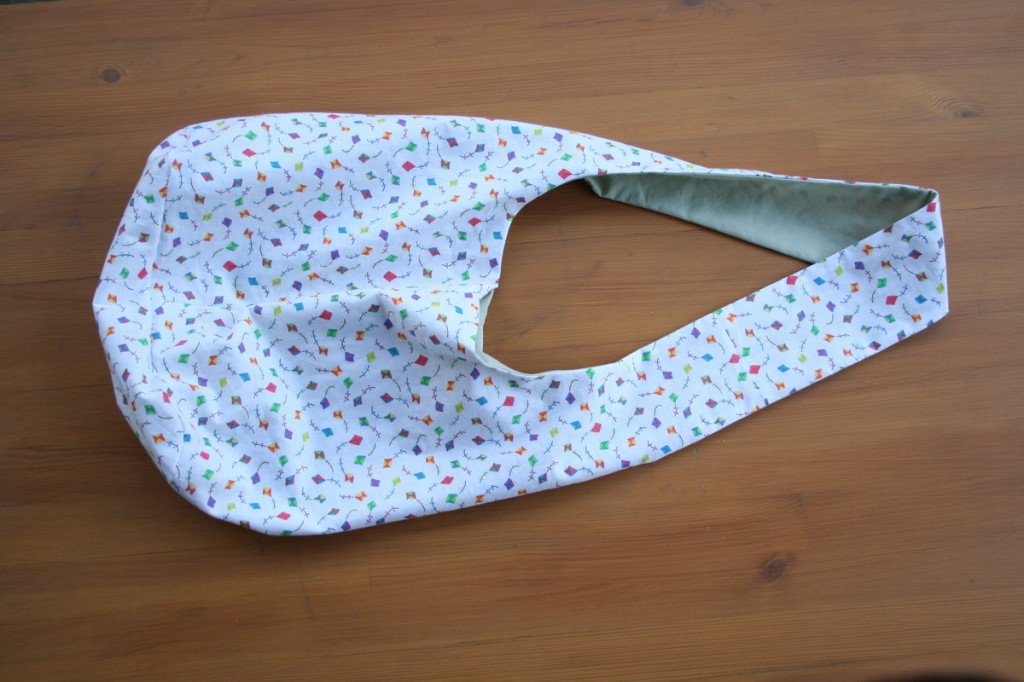
I’ve been studying the design ever since, and for my sister’s birthday I tried out what I had calculated. After sewing the bottom piece on the wrong orientation, ripping it out and reattaching it, I’m happy with the final product. It’s pretty close to the original design, which itself is pretty similar to Rae’s Lickety Split Bag and should fit lots of stuff in it (the key metric for success of a bag).

Reversible Shoulder Bag, side 1

Reversible Shoulder Bag, side 2

As a bonus, this kite fabric was some that my sister used to have hanging as curtains around her bed, which she later gave to me, and now I’m giving a little piece of it back to her. Happy birthday Chloe!

Posted in finished, Sewing | 5 Comments

Easy Wall Decor

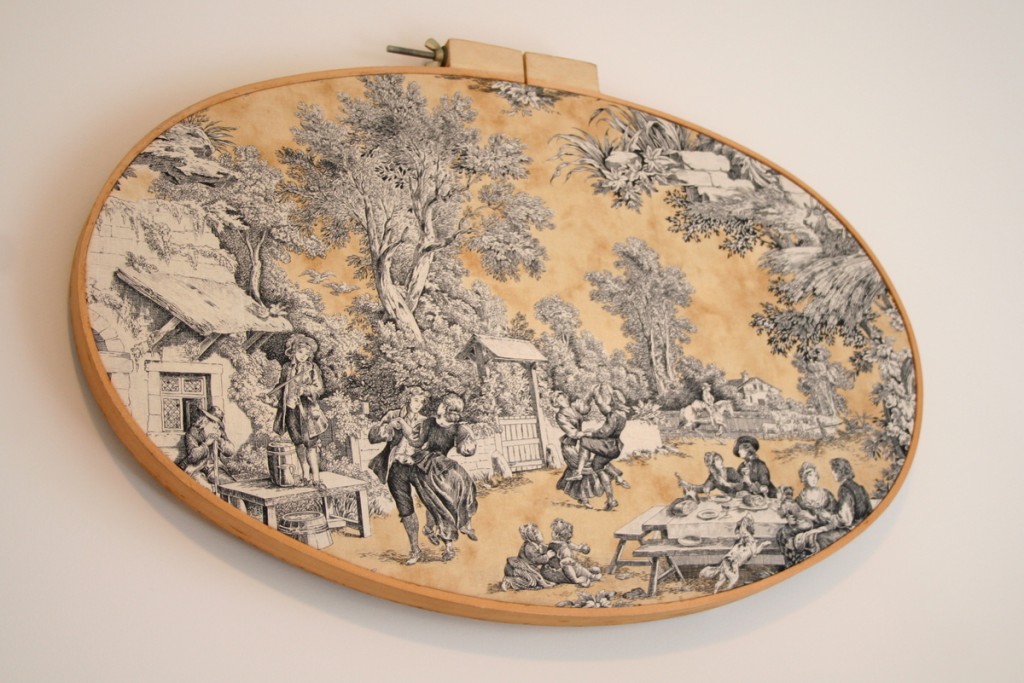
A few days ago I was hit with a spell of “I’m-very-bored-and-stir-crazy-but-nothing-sounds-interesting-to-do.” I suggested we rearrange our furniture. My husband declined. We ultimately decided to move our ancient TV and (broken) DVD player to our craft/storage/guest room, and replace it with the perhaps more ancient recliner, upholstered in a really stunning orange, brown, and green plaid, that had been living in our extra room. Anyway, in the midst of this rearranging, I noticed the wooden quilting hoop that I’d inherited a few months ago. I took a piece of toile fabric I had found at a thrift store recently, fit it into the hoop, and hung it above our desks.

Easy Wall Decoration - Fabric in a Quilting Hoop

This hoop is about 18×24″, so it fills up a nice portion of our otherwise blank wall. My favorite part is that I can easily swap out the fabric whenever I get bored of it – or want to use this toile for something.

Posted in fabric, home dec | 2 Comments

My First Quilt: Choosing the Fabrics

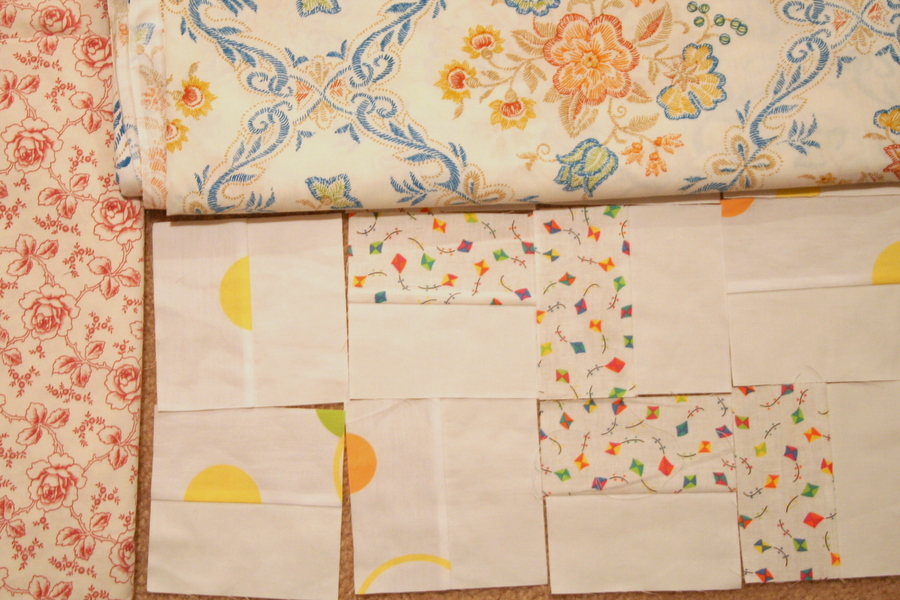
My first step in starting my first quilt was to figure out which fabrics to use. I wanted to stick primarily to what I already had on hand, mostly so I don’t feel bad about spending money on new fabric if I mess something up or really dislike the whole quilting thing.

Since I several fabrics in white, I decided to make the background white and white-based patterns. I cut a few pieces from some of my fabrics, but wasn’t sure about it… So I took a photo.

Fabric Selections

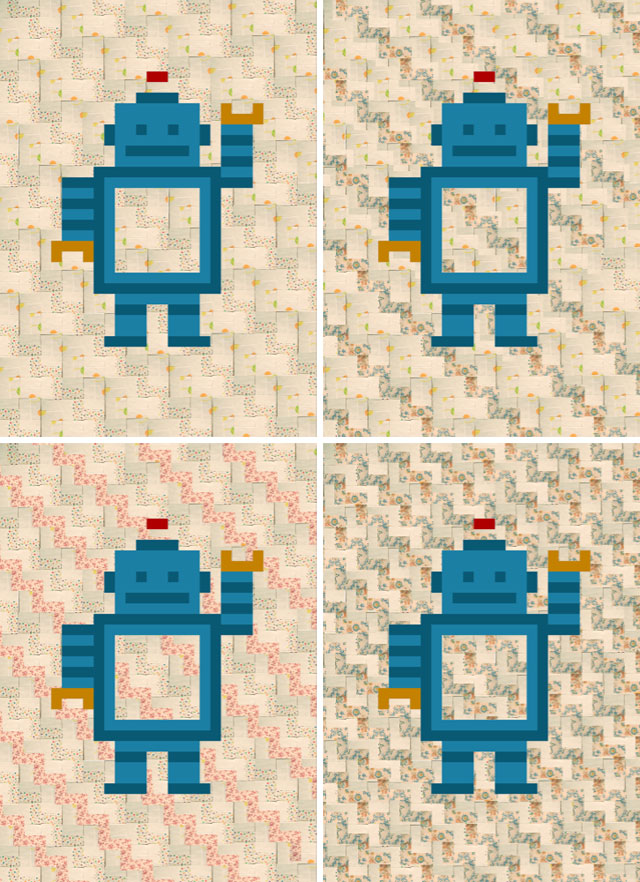
Then I opened it in Photoshop, and proceeded to copy and paste bits of “fabric” until I had a few mock-ups of my quilt with different background fabrics. I “drew” the robot in Photoshop to get a sense of what the fabric options would look like with the main element of the quilt.Robot fabric mock-ups

I ultimately decided on the option in the lower-left: zig-zags of white alternated with a blue-and-orange floral pattern. The blue in the floral matches the color of the robot, and I like the contrast of traditional quilted florals with a modern robot.

Now: to cut all my fabric! I’ve started, but I’m not very good at finishing one thing before I start another, so I’ve already started sewing bits together. Gives me a sense of accomplishment & progress when I know I have yards and yards of zig zags to cut…

Posted in quilting | Leave a comment

My First Quilt

Over the past few months, I’ve been tossing around the idea of learning how to quilt (or rather, putting the random scraps of knowledge in my head into practice and seeing if a quilt results). Through a happy convergence of Christmas gifts, I now am the proud owner of a rotary cutter, a big ol’ cutting mat, and a heavy-duty Olfa sewing ruler. Which means, of course, that I am duly qualified for quilt-making (har). My challenge now is to figure out what to quilt.

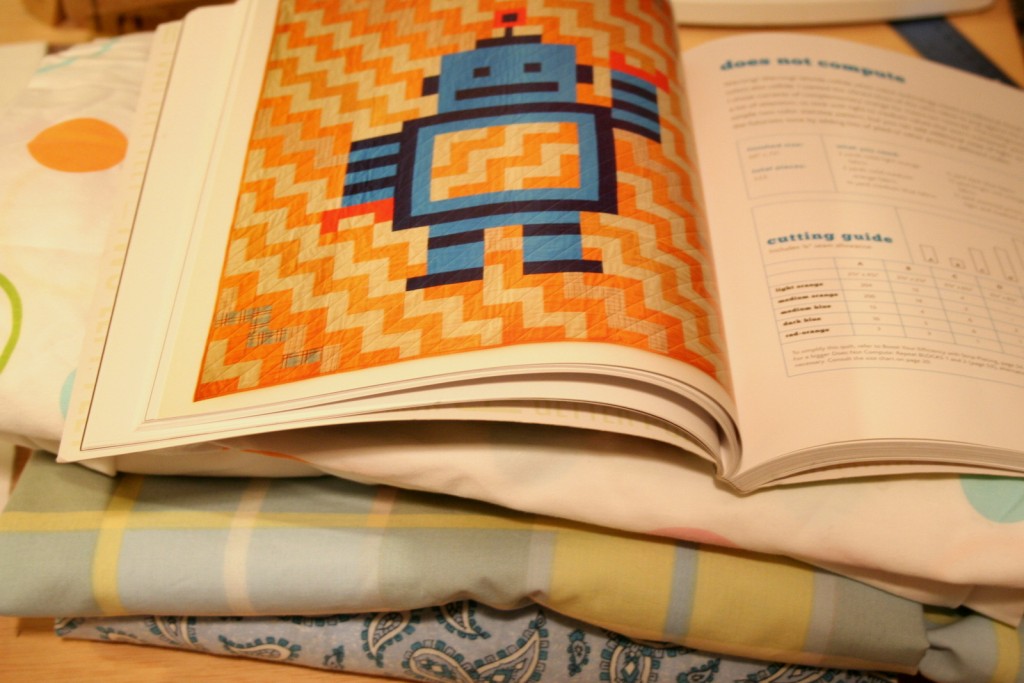
After seeing a photo of a clever deer quilt from Dare to Be Square a few weeks ago, I checked out the book from the local library. The “picture” quality of the quilt got my wheels spinning, and I thought it’d be fun to make a robot quilt (my husband studying robotics and all). You probably know where this is going – Dare to Be Square has a robot quilt pattern! I was suitably excited.

The next day I had an idea for another quilt design, but my husband wisely suggested that maybe I should stick with a published pattern for my first attempt at a quilt… such wisdom. So I’ve started digging through my fabric stash and pulling out fabrics for My First Quilt, cutting some pieces as I go to get the hang of the rotary cutting method. Wish me luck!

Beginnings of a Robot Quilt

Posted in in progress, quilting | 1 Comment

Reversible Fabric Headbands

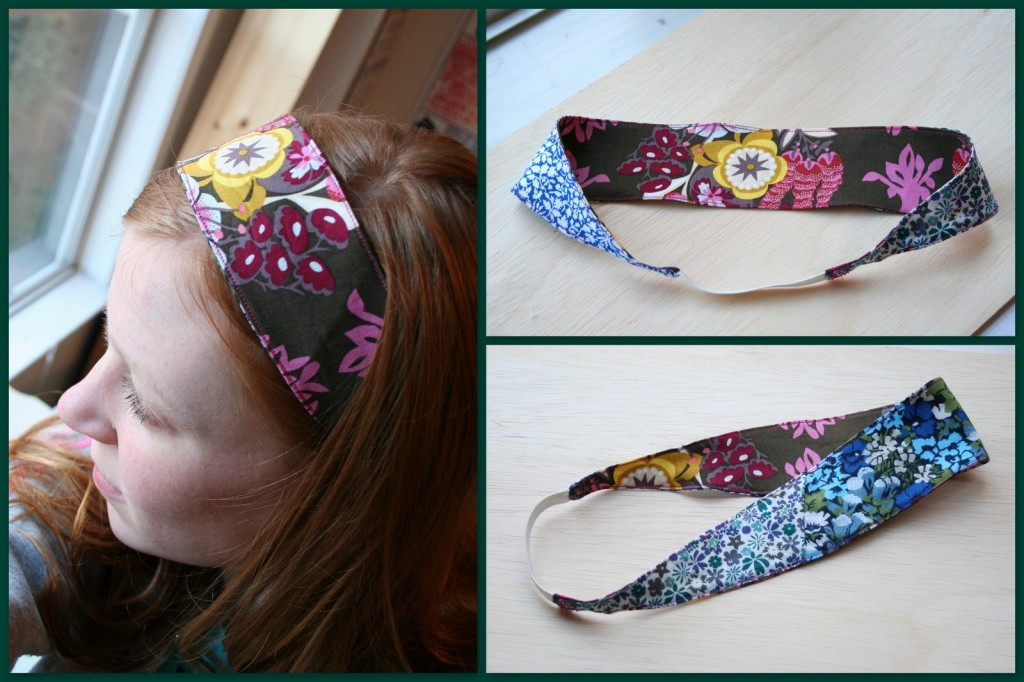
I’ve been on a bit of a headband kick lately – especially because these fabric headbands are so quick to put together. Most hard headbands with plastic inside them hurt my head after wearing them for a few hours, and elastic headbands tend to slip right off my head. These use two layers of fabric plus a few inches of elastic to stay on my head without squeezing.

Reversible Fabric Headband

I traced one of my plastic headbands to get the basic shape, then cut two pieces of fabric. The pink floral is an Anna Maria Horner home dec fabric, which gives it some weight. When I’ve used lighter-weight fabrics, I added fusible interfacing to one piece to stiffen the headband. I sewed this wrong-sides together and (of course) left a slightly-too-small hole to flip it through so I fought this one for about 10 minutes to get it flipped right-side out. After flipping I tucked the elastic in the ends, then top-stitched the whole thing. Cute!

Posted in craft, Sewing | 2 Comments

Reliving Childhood Crafts: Melty beads

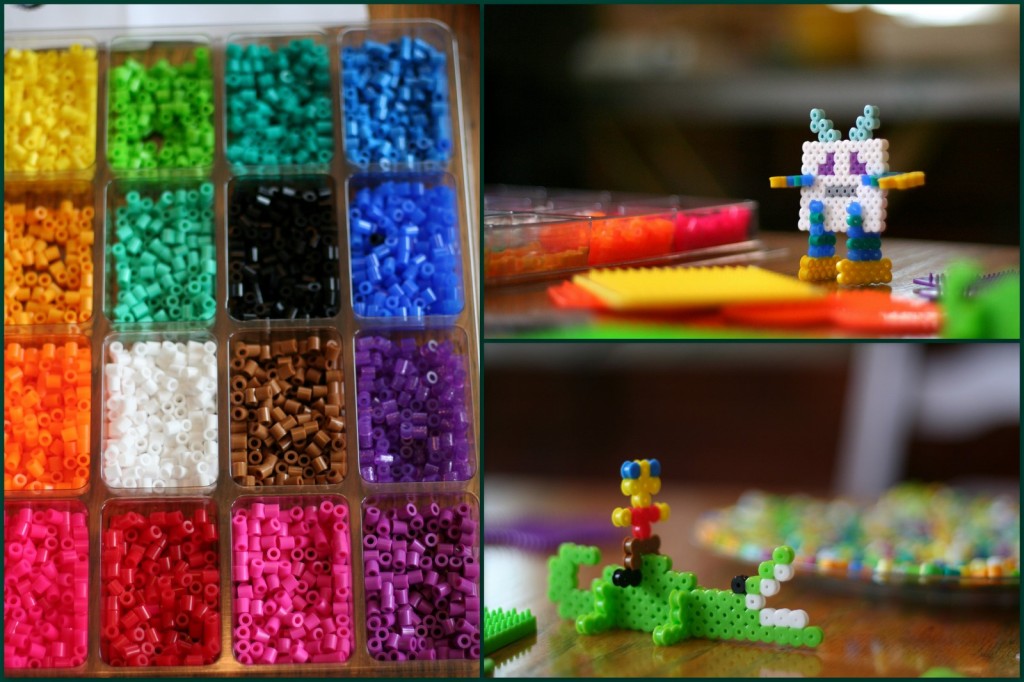
Melty beads, fuse beads, whatever you call them – I had totally forgotten about this craft until I saw packs of them in the dollar bin at Michael’s just before Christmas. I grabbed a cute penguin kit for my sister to put in her stocking. I guess great minds think alike – or melty beads are staging a comeback – because my brother and his girlfriend showed up to Christmas with huge bags of these beads.

One of the pattern booklets they brought showed a 3D alligator that my brother promptly made. I liked the idea, so I made a 3D robot that now graces our mantle. The 3D-ness is pretty simple to make. The arms and legs of my robot are each separate pieces, with 1 or 2 beads left out from the end of the appendage where it meets the body. I also left out one bead at each spot on the body where the arms and legs attach, and then once the pieces were all fused together, you can slide the pieces together, interlocking them.

3-D Melty Beads

Can you think of any other “kids crafts” that would be fun to try again?

Posted in childhood, craft | Leave a comment